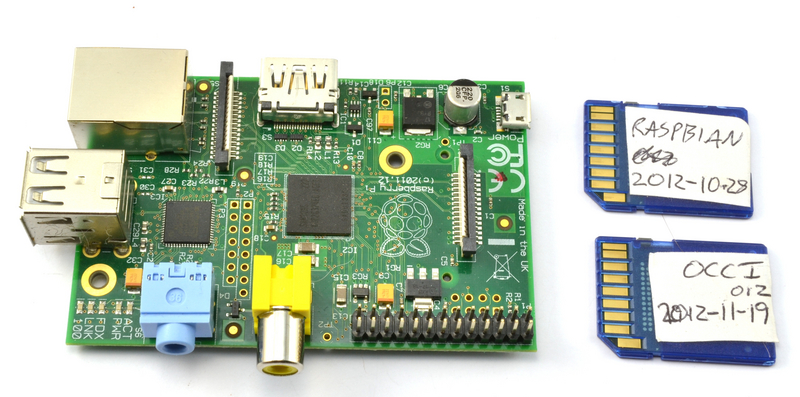
 Great tutorial on setting up your SD card for your new Raspberry Pi, or for those people who keep forgetting how to do it!
Great tutorial on setting up your SD card for your new Raspberry Pi, or for those people who keep forgetting how to do it!
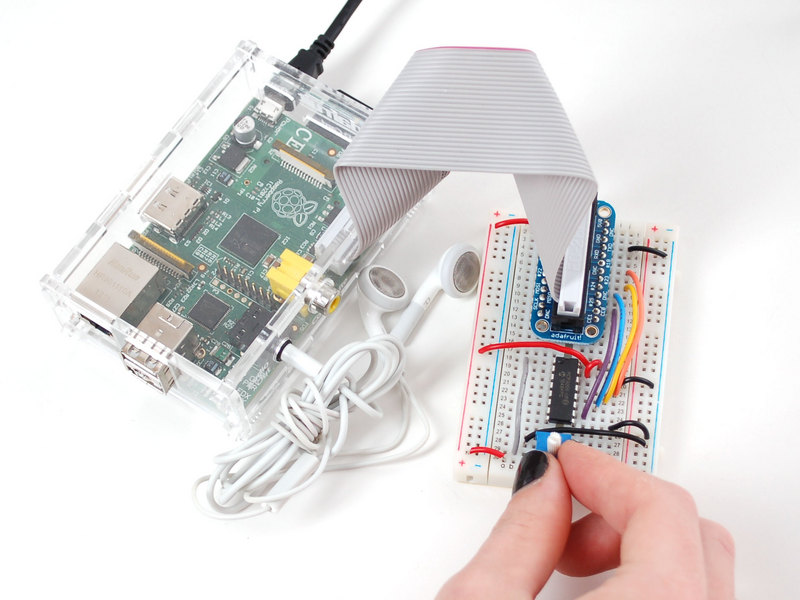
I don’t often vent my spleen on my blog. This time, however, my frustration has boiled over. I’ve been trying to get an analog to digital converter working with my Pi. Now, I should say going into this I’m not feeling my best at the moment, and my patience is more than a little thin.
Over the past few weeks, I’ve had problems with my 7″ LCD screen, with my 16×2 LCD module, my ultrasonic distance sensor… and now it’s the turn of the ADC.
I was trying to do this tutorial:
Overview | Analog Inputs for Raspberry Pi Using the MCP3008 | Adafruit Learning System.
and failed miserably. Analog levels are just not being reported. I get the occasional fluctuation, but it doesn’t seem to be reading the analog-ness of the potentiometer. It’ll go to 100%, then to zero again. No idea what I’m doing wrong.
Still, I persevered and decided to try Jeremy Blythe’s tutorial that is the same as the Adafruit one by instead using the SPI protocol. I figured I’m using the Occidentalis distro, SPI is enabled, and I’m having no luck with the original. Here’s a link to the tutorial:
http://jeremyblythe.blogspot.co.uk/2012/09/raspberry-pi-hardware-spi-analog-inputs.html
Guess what? I failed again. I’m getting 100% volume all the time. I don’t doubt that both tutorials are accurate and correct, just that my lack of knowledge is probably causing my failure.
Perhaps it’s because I’m using a mini potentiometer rather than one of the blue ones, but surely if I press down on the thing it should do the same? It’s so frustrating.
I’m not a stupid person – but I do feel that I’ve reached the end of my expertise with this simple tutorial. I’m all at sea with electronics, it seems, and I haven’t a clue how to get enough knowledge to make myself proficient enough to do what I want to do.
Rant over!

The Picorder project has been progressing, albeit slowly. So far, I’ve managed to add the following items to my Pi:
To start with, I constructed my circuits on a breadboard. This was fine, but I decided I wanted something more permanent and less prone to accidents. Breadboarding is great if you want to be able to easily move wires around when you make a mistake, but of course it also means that the wires come out very easily.
 For this, I went with a Proto-Plate from BitBang.co.uk. The board is very solid, very well-made and has a decent-sized prototyping area. The best thing is that the surface area fits within the Pi’s footprint. The components I added don’t, as you’ll see from the pictures below, but this was never my main concern.
Soldering connections on the board led me to use fine lead solder. This gave me much quicker soldering times and connections that were easier to manage, not mention giving me much tidier results. (Thanks to Peter Onion’s masterclass at the Milton Keynes Raspberry Jam, I’m now soldering properly too.)
Even with the fine solder and improved technique, my wiring (see below) is still a bit untidy, but it has done the job and I’m rather proud of being able to get it working eventually.
I say eventually… Having followed a tutorial on connecting the LCD and found the appropriate resistance for the backlight using a potentiometer, I naturally replaced the pot with a normal resistor. This should have worked… but didn’t. The LCD stubbornly refused to work; It lit up, but no text appeared on it when I ran my scripts. Cue much usage of a multimeter to determine if I’d made the connections correctly. I eventually tracked down the problem and found that, rather than supplying a resistance between the backlight pin and a live contact, the connection should instead be made from the pin to the ground. I’m still not totally sure why, exactly, but rewiring the board to do this finally made it work correctly. The irony is that if I had realised this when I first constructed the circuit, it would have worked first time.

My Picorder (see picture, left) now measures the temperature of the room (well, that part of the room that is near the sensor anyway!) and displays it on the LCD screen.
My next task is to modify the Python script that runs the thing to do an active ultrasonic ‘ping’ to measure distance (this part is already done) and display it on screen (this part isn’t).

Ryan Walmsley has created a fantastic site that uses the Google Maps API to track the location of Raspberry Pis around the world. Currently, the count is standing at just over 18,000 which, while not being anywhere close to the number of units sold, does at least give a representative sample of where Pis are clustered geographically.
I strongly urge everyone who has a Pi to head on over to Ryan’s map and register their Pis!
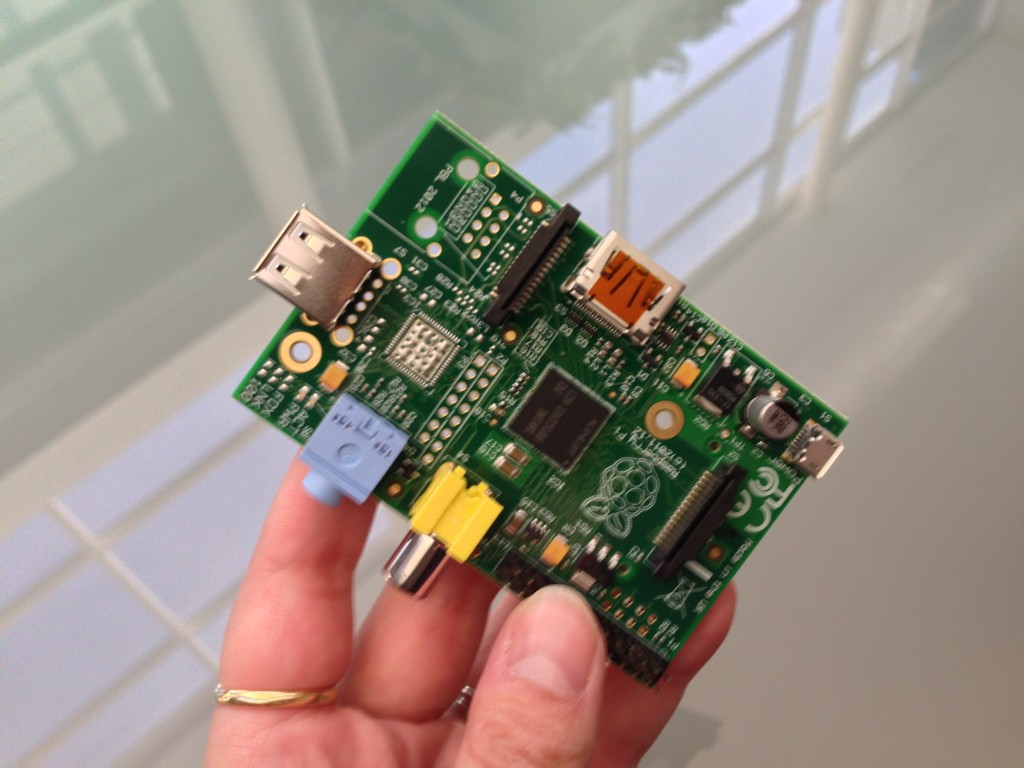
The first engineering samples of the Raspberry Pi, Model A have been produced. Read about it here first: First Model A samples off the line! | Raspberry Pi.
As you can tell from the picture above and from the Foundation’s announcement, the Model A is, essentially, the same as the Model B with only four main differences:
Many have speculated as to whether it’s even worth having two board models, especially given how successful the B has been.
The question is, essentially: why bother bringing out a board that has less functionality than the first one? Well, I think they’ve already won that argument – the model A is for people who want to run the Pi a) headless and b) with a smaller power consumption. There’s also the benefit of having a much lower vertical footprint – without the second USB and ethernet ports, it must’ve taken around 50mm off the height. Very useful.
My take, however, is that the Foundation hasn’t gone far enough! Given that the Model A is expected to be used for embedded and low-power projects, they could, and in my opinion should, have removed more components. For example, take your typical embedded project – does it really need a built-in HDMI port? Does it really need a composite video port? Does it need an audio out? My thoughts are that it definitely doesn’t need both video outputs. If the idea was to minimise the 3 dimensional footprint of the device, and to make it cheaper, then surely just the HDMI, with it’s smaller surface area and flush mounting, would have been enough? As for the audio port, I’m in two minds. On the one hand, you have the nice feature of being able to give audio feedback, on the other you have the size of the jack and the cost of the component. Of course, the HDMI socket provides sound anyway (I think…) so I’d go on the side of it not really being needed.
I’m very surprised at how long it has taken the Model A to be produced. After all, if you look at the board, it’s effectively the model B with the ethernet port not applied and a different USB package bolted on. Given that it has 256mb, I think we can safely work out how long the model A has been in gestation for. So, why the delay? In fact, that is a question that could generate an entire series of articles. But I digress. I think my general feeling was: is that it?
Speaking of the memory… The Foundation is producing the model A, rather than their manufacturing partners. Apparently this is because they “ended up owning” a bunch of memory units. Now, I wonder what memory units they might be… Could they be surplus from the now-defunct 256mb model B run? I can’t see how they can be anything else. This does rather beg the question as to whether there will be a 512mb version, despite assurances that there won’t be. My feeling is that demand for the model A will be far lower than the model B leading to a discontinuation of the model A line within a year. This is just my opinion, of course, and nothing to do with the quality of the product.
In an ideal world, I would have liked to have seen a board similar to the original prototype Raspberry Pi:
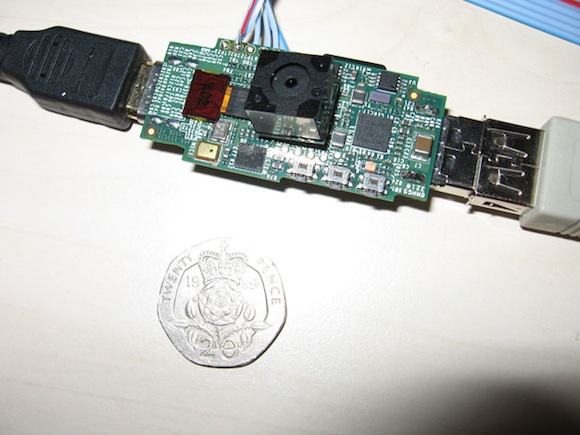
This had a tiny form factor and was therefore much more interesting to those of us interested in embedded projects. I think, though, the Foundation have made their decision. The only suggestion I really have is: consider leaving off, say, the composite and audio sockets. It would make the board positively slimline and would make it more unique in terms of a product. Perhaps the sockets could be sold individually so that, if you need an audio out, you just have to solder it on.
Either way, I’m going to stick with my model Bs for now – buying the same board with less functionality doesn’t make much sense to me. I can guarantee, though, that it will find favour among more serious developers, but I have this suspicion that the first thing those people will do is to desolder the bits they don’t need.
This is all my opinion, of course. If you disagree with me, or have anything to add, you know where the comments box is!
Alex has done a comprehensive review of the ubiquitous (and most cost-effective) ModMyPi case over on his site.