BerryClip+ for the #RaspberryPi review

Matt Hawkins (aka The Raspberry Pi Spy) sent me one of his new GPIO add-on boards for the Pi called the BerryClip+.

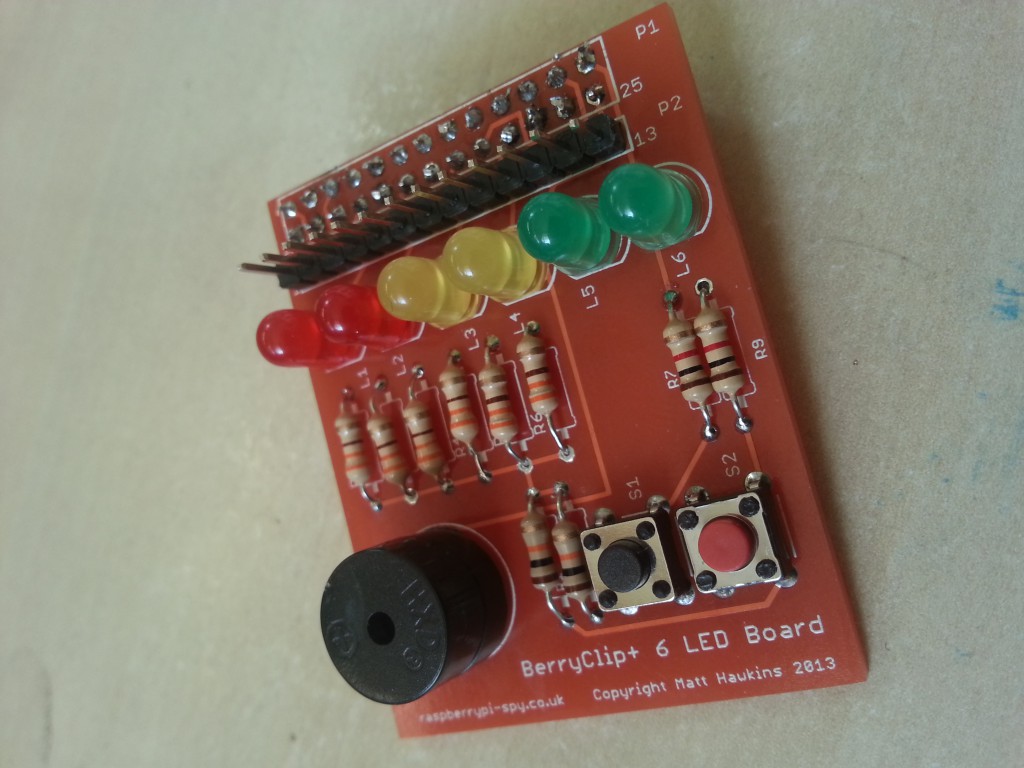
The BerryClip+ is a simple, half-sized add-on board for the Raspberry Pi that plugs straight onto the GPIO header. It contains 6 LEDs (2 red, 2 amber, 2 green), 2 momentary push buttons and 1 buzzer. It is an improvement over the original BerryClip in that it has an extra button and also breaks out the majority of the GPIO pins to a separate header. You can watch a review of the original BerryClip on the Raspberry Pi IV Beginners YouTube channel.

The Original BerryClip

The BerryClip+

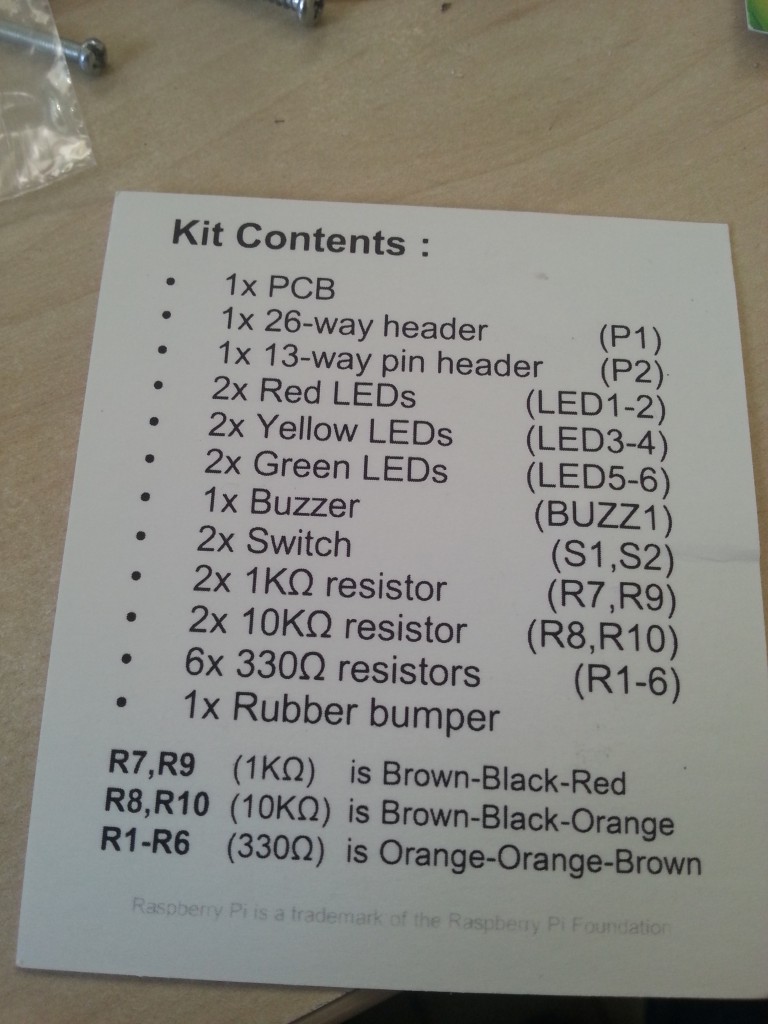
As with the original BerryClip, the BerryClip+ comes as a kit. The kit contains all the parts you need and a card listing the bill-of-materials and links to some help. I would like to have seen explicit mention of the test scripts that you can download on the card, but if you end up on the instructions page then you’ll find these soon enough.

20140309_162333 20140309_162345

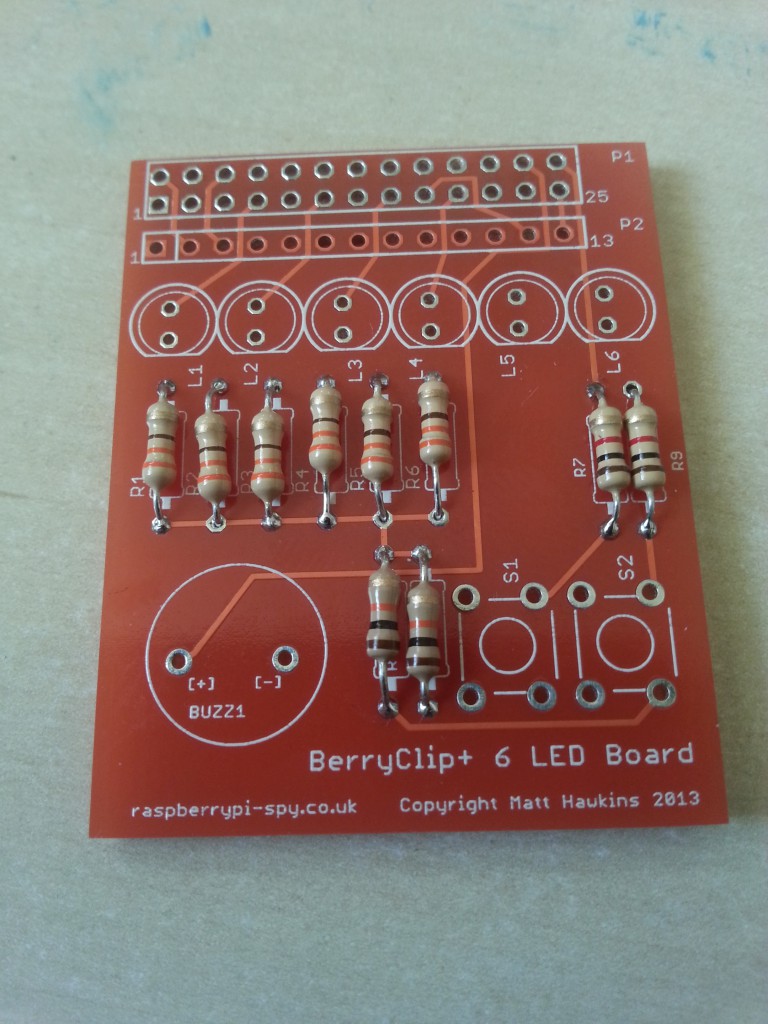
As a kit, it means getting your soldering iron out. I found that the BerryClip+ was slightly more difficult to solder together than the original. This is mostly because of the extra male header pins which restrict the space you have to solder on the 26-way header. It’s not a major issue, though, and really it just needs a steady hand and some patience. One thing I should say is that because of the way the rest of the components are placed and spaced, this is an ideal project for the soldering beginner. Here’s a picture of my soldering efforts with all the resistors in place:

20140309_153122

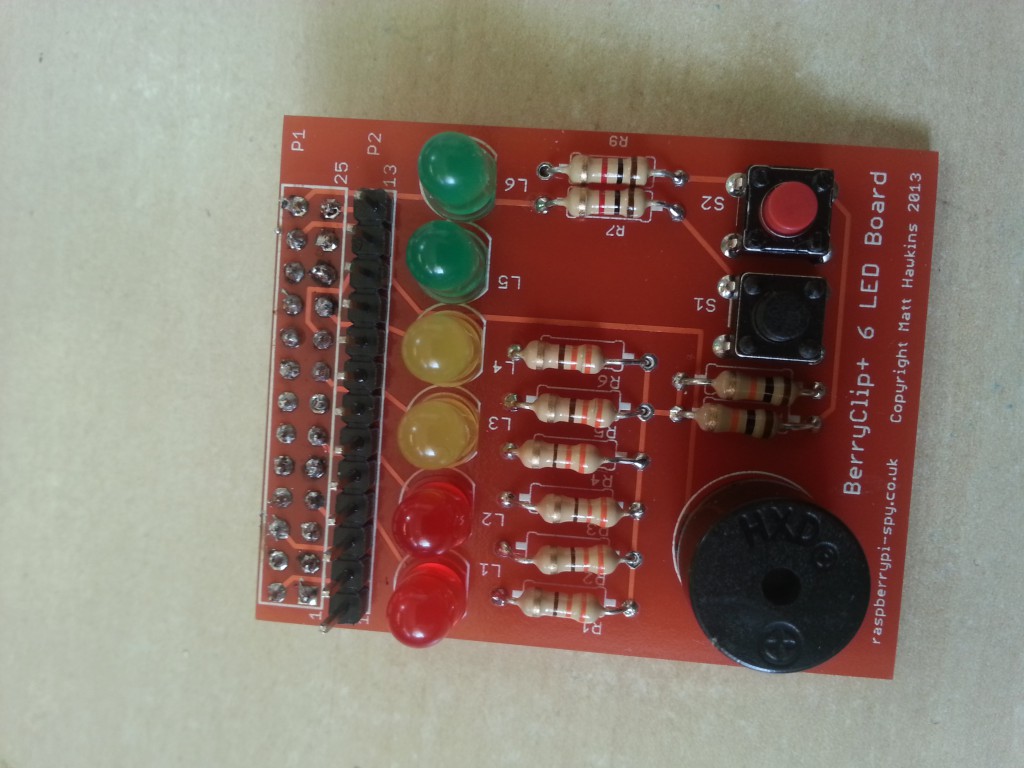
And here’s a couple of photos of the finished board. The whole thing took about 30-40 minutes, but I really take my time and a more experienced solderer could probably do it in 20 minutes.

20140309_155633 20140309_155702

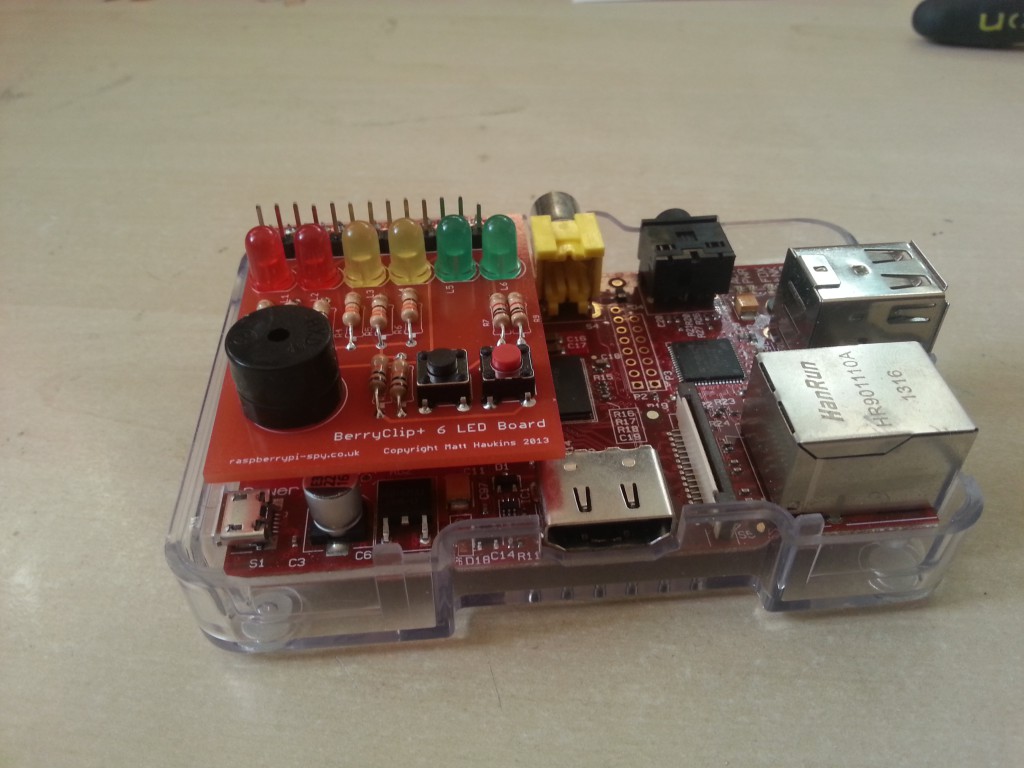
And here’s the board plugged into my red Pi:

20140309_155908

The BerryClip+, just like the original, can be tested out using a series of example scripts downloadable from bitbucket. Instructions for doing this can be found here.

There are twelve scripts in all plus an added bonus, of which more later. The twelve scripts are as follows:

  • berryclip_01.py – Test LEDs only
  • berryclip_02.py – Test Buzzer only
  • berryclip_03.py – Test Switches only
  • berryclip_04.py – Test LEDs and Switches
  • berryclip_05.py – Test LEDs, Buzzer and Switches
  • berryclip_06.py – LED sequence
  • berryclip_07.py – Dice Simulator
  • berryclip_08.py – Reaction time game
  • berryclip_09.py – Random LEDs
  • berryclip_10.py – Multiple LED sequences in a loop
  • berryclip_11.py – Traffic light simulator
  • berryclip_12.py – Morse code generator

These scripts are terrific and really add value to the board. They introduce the board’s basic GPIO functionality and also show you how to do multi-threaded event listeners so that, for instance, you can run a sequence on the LEDs but ‘listen’ for a button press at the same time. Basically, anything simple that you’d want to do with the board can be found in these scripts. Also included is a ‘horse racing’ game written by Jim Flewker (which I previously covered here) which is an interesting example of what you can do with the board and a little imagination. I should say that the download instructions provided on Matt’s site worked flawlessly – exactly what is necessary when you’re providing code (and something other people could learn lessons from – make it easy, make it work).

So what is my overall opinion of the board? Well, it’s very good. For £6.99 (compared to £5.99 for the original) you get a decent number of components plus the circuit board plus the scripts. It’s a very good value board and can be compared favourably alongside, say, the Pibrella (which is £10, pre-assembled and has a Python library but has fewer components and is slightly easier to plug things into with the female header). Matt’s board gets points for the extra switch, especially, as you can really make some great interactive activities with two buttons, and breaking out the remaining GPIO pins means that it’s easily extendible if you want to add more LEDs, buttons and buzzers (for instance).

Matt’s done an excellent job making a cheap, accessible board that could easily be used both at home and in classrooms (soldering notwithstanding, but there’s always some enterprising techie in school to do that).

Overall rating: 9/10

You can purchase a BerryClip+ from Dawn Robotics or ModMyPi (plus £2 delivery). The original is also available from those re-sellers.

Ultrasonic train detector in Stockholm uses a #RaspberryPi

Here’s a neat real-life project. Apologies for the use of the word ‘neat’. Viktor Rene works for Stopp Family. They are a production company that wanted to trigger the playing of a video on a billboard when an underground train pulled into the station. To do this, they hooked up an ultrasonic distance detector to a Pi and wrote a bit of software to do the detection. The Pi then communicates with a Flash app to trigger the video.

Read more here

New open hack competition for young people launched by Duke of York

The Duke of York and Young Rewired State have teamed up to launch the Peer to Peer Challenge. The five week competition aims to encourage more young people to discover and use programming and digital skills. There are 5 challenges to tackle:

  • Removing the Fear for Parents (Output – design a website or an app)
  • Design a game (Output – a game prototype)
  • Design an app to make it easier for others to get into programming (Output – an app prototype)
  • Make a single or series of tutorials (Output – online video)
  • WIldcard (Output – let your imagination run wild)

Entries open on the 2nd April and close on 12th April. Winners will be announced on 25th April and prizes awarded at Buckingham Palace!

Read more here

Seven Segments of Pi – From Raspberry Jamboree to CamJam (Part 2)

FromJamboreeToCamJam_Banner

This week I was going to talk about VGA Adapters for the Raspberry Pi but about 10 days ago Mike emailed me to say “Are you going to the Manchester Jamboree?”

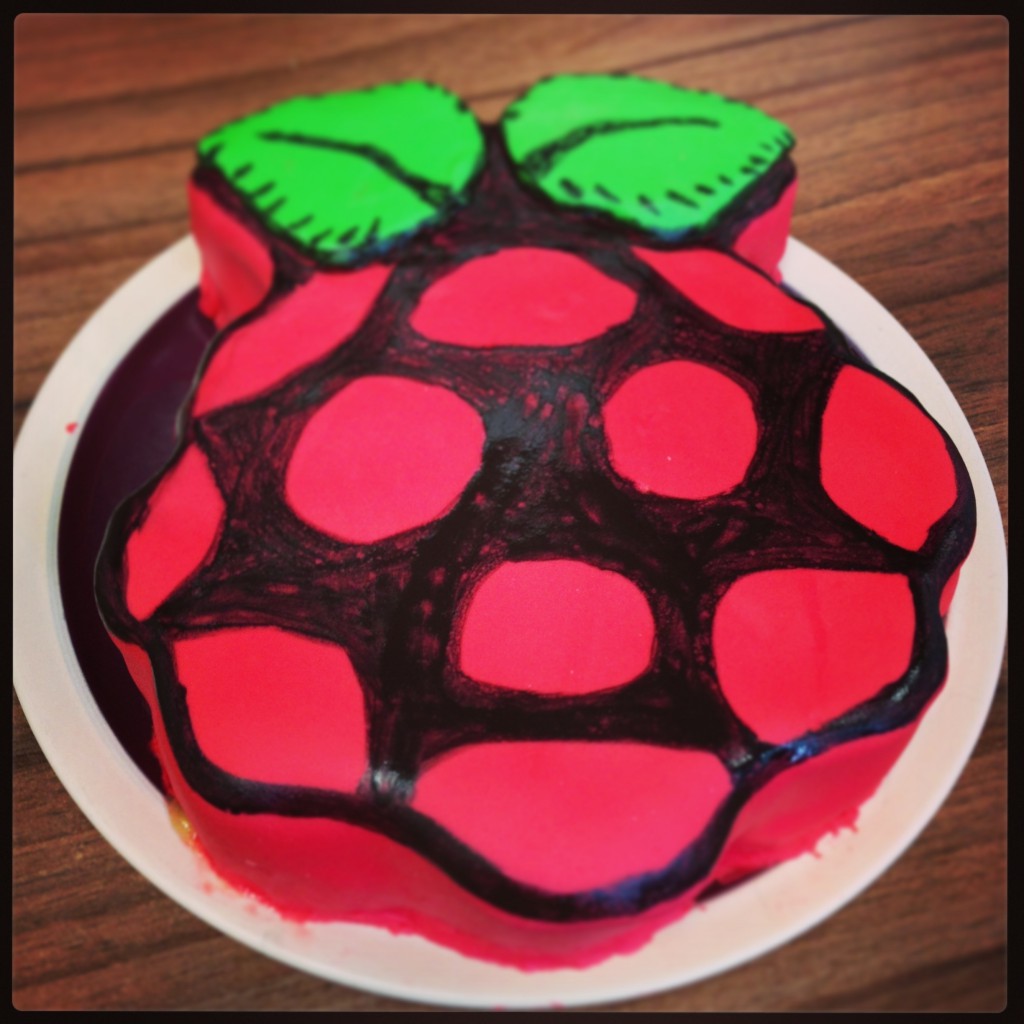
I must admit at the time it wasn’t on my radar! So I looked up the Web Site and realised that, not only was it to be the Manchester Jamboree and the Raspberry Pi 2nd Birthday Celebration!

Cake

…it was to be held in conjunction with the “Education Innovation” Conference & Exhibition…

edinnov

…so would not only be attended by Raspberry Pi enthusiasts, it would be attended by people from the world of education, looking at how to implement the government initiative to get pupils programming. I therefore had to be there!

So this week’s Blog will be about my 2 days last week at Manchester Central Conference Centre…

conference_centre

 …attending the “Education Innovation” Conference & Exhibition and Manchester Jamboree and Raspberry Pi 2nd Birthday Party Celebrations which turned out to be 2 of the best “Pi Days” I have had! (Anyone waiting with baited breath for me to talk about VGA Adapters will have to wait a week or two!)

Happy 2nd Birthday Raspberry Pi

It was another early morning alarm on Thursday morning. 3.30 a.m!

I wanted to get to Manchester by about 8am and it’s a long drive from Berkshire! As I had my breakfast I received an email from Alan O’Donohoe, who was organising the Jamboree, saying Albert Hickey wouldn’t be able to do his “Slice of Pi” talks and would I like to talk in his place. So I volunteered to do a “Slice of Pi” talk on the “Seven Segments of Pi” at 4 pm that afternoon.

Since I had been a late addition to the list of attendees I had no idea if there would be space for me to set up my “Seven Segments of Pi” exhibition stand and demo, but I packed it in the car, none the less! I arrived at about 8.30am with everyone frantically setting up their stands ready for the 9.30am start. I found the CPC stand…

CPC

…with Kevin Howson waiting for the rest of the CPC people to arrive. I told him about the “Seven Segments of Pi” only for him to tell me that CPC have just added it to their catalogue! I therefore negotiated a corner of their stand for me to set up my stand and demo!!

At about 4pm on Thursday afternoon I did my “Seven Segments of Pi” presentation, which was hosted by Alan, who manages to keep the audience fully entertained in those hand-over minutes as one speaker is disconnecting their laptop from the projector and the next speaker is plugging their laptop in! I am told all of these “Slice of Pi” talks were videoed, so maybe in a few days it will be available for the world to see!

Over the 2 days I spent some time on my stand but I spent much of my time going round the other stands talking to people from the education world and people from the Raspberry Pi community, many of which I only previously knew as names on a Web Site. In particular it was great to talk to Simon Monk

Monk_Makes

…who’s Web Site I had found back in May 2012 just after I had received my first Raspberry Pi, and, in response to the pupil who kept asking me “Yes…but what does it do?” I had decided to try hooking the GPIO up to an old Seven Segment Display I found in my electronic junk box. Through his guidance I found you needed to be in “Super User” mode to access the GPIO. You also needed to import RPi.GPIO to drive the GPIO from Python. I then (eventually) found that the GPIO were referenced by their P1 Connector pin number, not the GPIO number on the schematics or the Broadcom GPIO number!!!

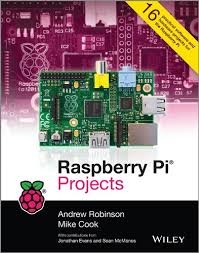
It was also great to talk to Mike Cook, co-author of “Raspberry Pi Projects”…

Raspberry_Pi_Projects

and “Raspberry Pi for Dummies…

dummies

…who’s entertaining discussions were in danger of seriously undermining his online persona where he calls himself “Grumpy” Mike Cook! One nugget of information I got from him was about SD Cards, and the fact that not all SD Cards are created equally! I had already found that after taking an image of a complete 4GByte SD Card it was not always possible to fit the .img file onto another 4GByte SD Cards since the original SD Card may have been a full 4GBytes but the other “4GByte” SD Card may only be 3.9GBytes! In particular Mike said he had found the Raspberry Pi runs faster with some SD Cards than with others! His recommendations were, DON’T use “Class 10” SD Cards. DO use “Class 6” SD Cards. And in terms of brand probably Samsung and SanDisk are the best. Can anyone else confirm “Grumpy” Mike Cook’s findings?

Whilst it was great to talk to these Raspberry Pi enthusiasts, the real value to me of the Jamboree was it taking place in conjunction with the “Education Innovations” Conference and Exhibition.

I talked to several quite influential people in the world of education and if anything further comes out of these discussions I will include details in later Blogs. But the clear message I got about the barrier to schools adopting the Raspberry Pi for teaching programming is that many teachers are daunted by the complexity! That is everything from knowing what bits to buy in addition to the Raspberry Pi itself (PSU’s, Mice, Keyboards, Monitors, Adapter Cables), to programming the SD Card, to understanding the vagaries of Linux. And that is before they even start teaching programming! So, we need to help teach the teachers!

ocr

…has made a start with their “Getting Started Tutorial Sheets” and the…

CAS

…initiative to get people like myself to register with them so we can help schools is also an excellent start, but there is a great deal more to be done! Videos can be expensive to produce, but a good set of training videos could make the life of a teacher, who has been told they must teach programming from September 2014, just a little bit easier!

Anyway, next week I will be back to talking about how the “Seven Segments of Pi” evolved in the Classroom, but I would like to finish by giving a huge vote of thanks to Alan O’Donohoe

Alan

…and his “Jam Makers” for putting on such a wonderful Jamboree and 2nd Birthday Party, and acknowledge whoever’s idea it was to link it with the “Education Innovation” Conference & Exhibition. Pure genius! Just what the “Raspberry Pi in the Classroom” initiative needed!

If you are interested in learning more about the Seven Segments of Pi visit my Web Site www.SevenSegmentsOfPi.com or watch the “Seven Segments of Pi” YouTube Video. You can also watch Carrie Anne Philbin playing “Figure Eight My Pi” at the CamJam, courtesy of Alex at RasPi TV.

~ Nevil Hunt
Innovations in Education