After last week’s…

I have returned with more ideas for Raspberry Pi add-ons…but they might have to wait until 2015! I am going to be busy this year getting “The PiTrol” and “PiDapter” ready…but I found some willing pupils who I met at the Jamboree keen to test-drive these kits!
Now back to 2012! I had just started going into schools with my shiny new Raspberry Pi only to get the response…

“Yes! …but what does it do!?”
This spurred me into action. I had to make it “do” something to gain their interest! Thanks to my colleagues at work I had decided to try and hook the Raspberry Pi up to a Seven Segment Display using the Raspberry Pi’s GPIO Pins.
The GPIO Pins are a feature of the Raspberry Pi which sets it apart from a “normal” PC. Connecting to the GPIO Pins allows you to directly control other electronics, something that was possible on the BBC Micro
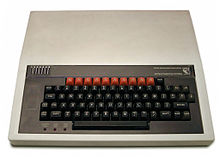
…in the 1980’s but became difficult to do on a “normal” PC in the 1990’s! (And if attempted, would be frowned upon by most parents!)
Part 3 “Building the Segments of Pi”
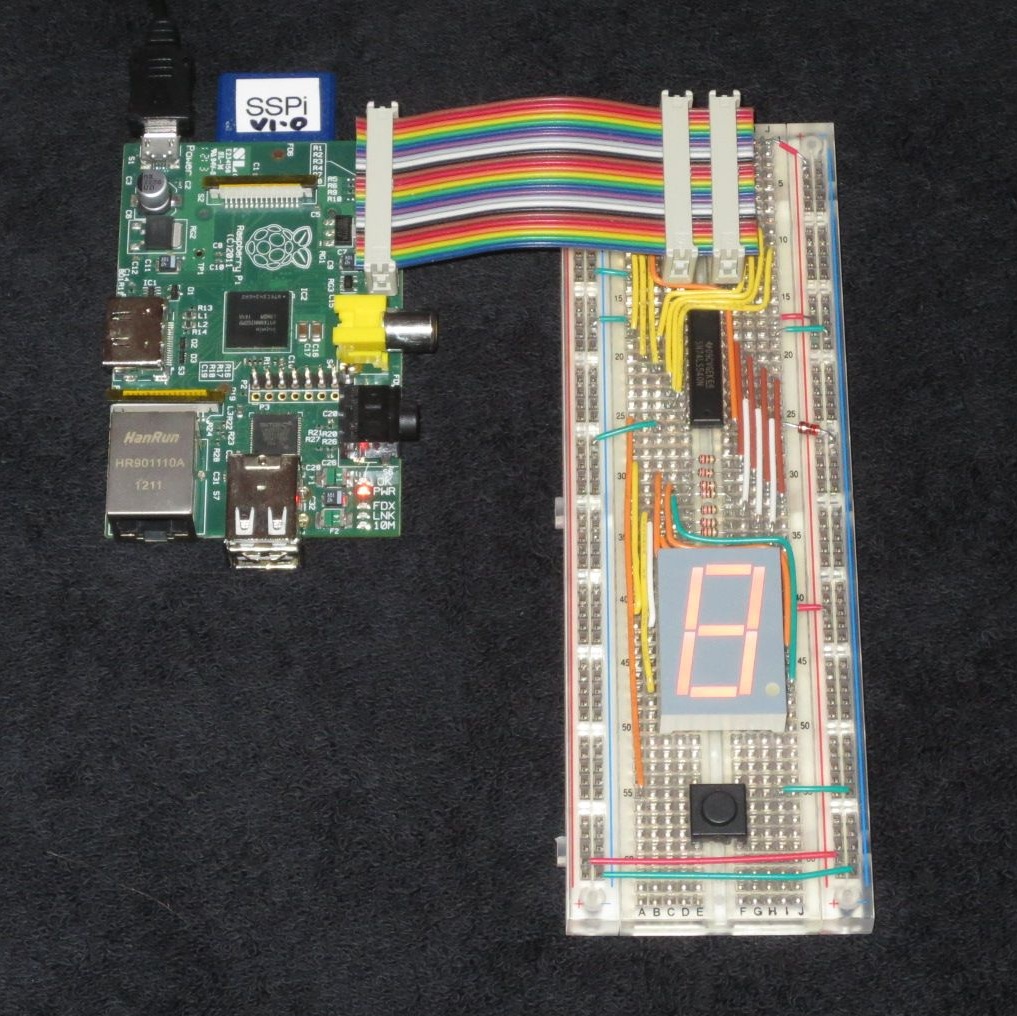
Rummaging through my boxes of old bits of electronics dating back to my time at Sheffield University I found a Seven Segment Display board I had built on Vero Board. I salvaged the 12mm Seven Segment Display and plugged it into a Breadboard. After downloading the Raspberry Pi Schematics I found the “P1 Connector” had 7 GPIO, labelled GPIO_GEN0 to 6. Just the right number for my display!
In the Dark Ages of 2012 no one seemed to have invented a convenient way to connect the Raspberry Pi’s “P1” Connector to a Breadboard (The Adafruit Pi Cobbler adapter…
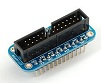
…came along some months later!) So I rigged up a “Heath-Robinson” Ribbon Cable to connect my Raspberry Pi to the Breadboard and I had…
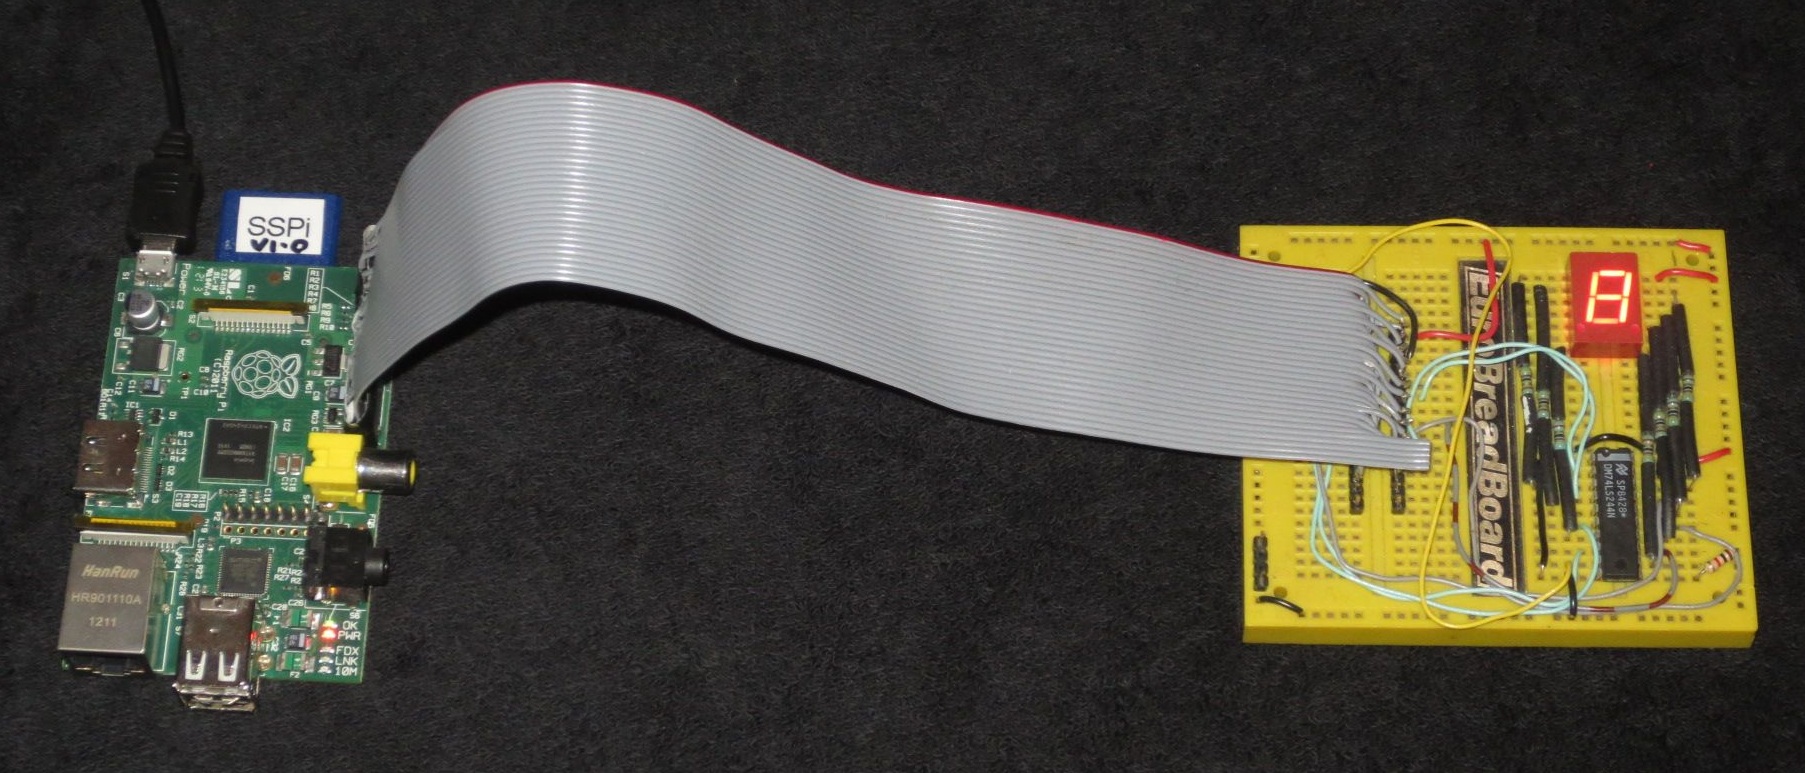
Seven Segments of Pi Mark I
I now just had the small matter of how to drive the GPIO from software! A few Google Searches later it was clear “Python” was the programming language of choice for the Raspberry Pi when using the “Debian” Operating System. I then found Simon Monk’s instructions…

…showing how to control the GPIO from “Python”. Following his instructions I downloaded the RPi.GPIO Python Library (this is now pre-installed in the Raspbian Operating System) and found I needed to be logged-in as “Super User” (sometimes referred to “Supervisor” “Administrator” or “sudo”)
I tried toggling GPIO_GEN0 as GPIO.output(0) in my “Python” software.
Nothing happened!
Looking at the Schematics I found GPIO_GEN0 was actually GPIO17 from the Broadcom chip. I tried toggling GPIO_GEN0 as GPIO.output(17) in my “Python” software.
Still nothing happened!
A few more Google Searches later and I found that the “Python” Library references the GPIO by their “P1 Connector” Pin Number (not the schematic signal name nor the Broadcom GPIO number) so GPIO_GEN0 is GPIO.output(11)!
It now worked! I had control of my Seven Segment Display!
There was one slight problem! I needed to set the GPIO to “False” to turn the Segments “on” and “True” to turn them “off”! That would be sure to cause confusion in the Classroom! So it was time for…
Seven Segments of Pi Mark II
A larger “common anode” Seven Segment Display driven by an Inverting Buffer now meant “True” turned it “on” and “False” turned it “off”! Two IDC Connectors on the Ribbon Cable allowed me to connect to the Breadboard in a more elegant way, and with the addition of a single PushButton as a GPIO.input I had something I could take back into schools.
I was still limited by having just one Raspberry Pi, but this time after my presentation I gave the pupils the chance to get their hands on the “Pi”!
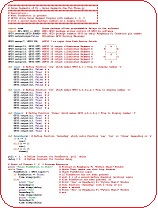
I had written a Python Program that displayed the numbers 1,2,3 in sequence on the Seven Segment display when the PushButton was pressed…
Three pupils stayed behind to take a closer look. I showed them the Python software and said “See if you can make it count to 4!”
They had never written any software before but they were off!
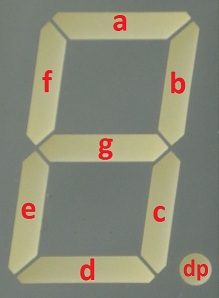
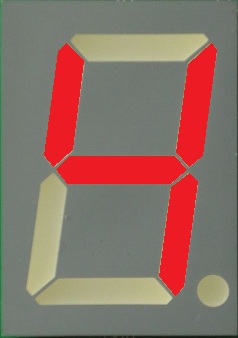
They quickly defined a new function called “four” and realised that to display the number “4” on a Seven Segment Display segments b,c,f & g must be “True”. The rest must be “False”…
But it still didn’t count to “4”! They had not called the function “four”!
A few syntax errors later and there was a “Yessss!” from the other side of the classroom. They had made it count to 4!!!
…and now they wanted to make it count to 5! …but it was 5.30pm and the teacher needed to lock up the Classroom! “Just give us a few more minutes so we can make it count to 5” they said. That was the moment I realised this simple idea of hooking the Raspberry Pi up to a Seven Segment Display “worked”! It was simple enough for someone new to programming to understand, but challenging enough to be satisfying when it “worked”! Now all I needed was a more comprehensive set of Software Challenges plus a few more Raspberry Pi’s and I could run Raspberry Pi Workshops in Schools!
Next week I will look at some of the technical barriers to using the Raspberry Pi in the classroom in a Blog entitled
”Yes! …but all our monitors are VGA!”
If you are interested in learning more about the Seven Segments of Pi visit my Web Site www.SevenSegmentsOfPi.com or watch the “Seven Segments of Pi” YouTube Video. You can also watch Carrie Anne Philbin playing “Figure Eight My Pi” at the CamJam, courtesy of Alex at RasPi TV.

Nevil Hunt
 Ryan Walmsley, creator of Rastrack and co-editor of Pi Weekly (and constant CamJam attendee!), has had a great success with his RTK motor controller board and has now branched out into a full beginners robot kit. The kit includes almost everything you need to get a robot up-and-running: