In this video, electronics guru Ben Heck examines and explains the Arduino including Outputs, Inputs, PWM and Analog Input.
You can view the video below, but I suggest reading the next bit for some background and hints.
I recommend watching from the 1 minute mark as the beginning is an intro and then a piece about his current Pinball project. The first minute is fun, but irrelevant for the main title of the video.
The video doesn’t necessarily detail everything you need to know – Ben assumes some common sense and occasionally more fundamental things like, for example, what a sketch actually is. He also skims past little nuggets.
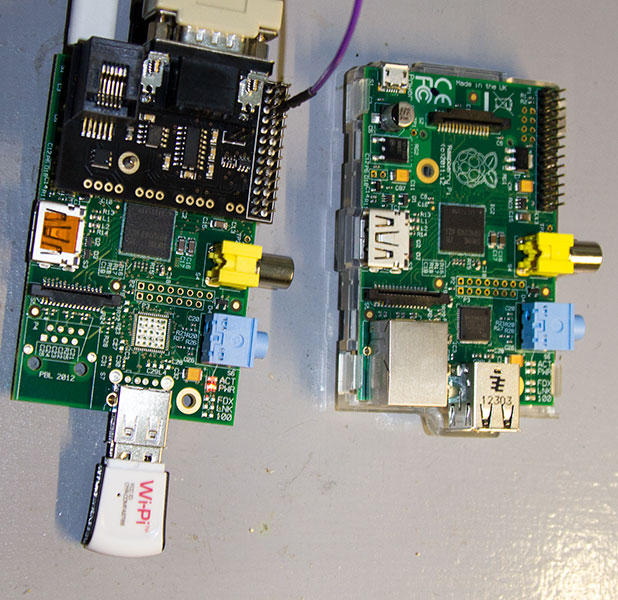
The video also has this annoying habit of going off-topic. In this case there’s a piece about the “newly released” 512mb Model B Raspberry Pi, so it’s not that much of a trial to sit through.
So here’s some notes I made whilst watching the video:
- a “Sketch” is a program, or piece of code, that runs on the Arduino. Sketches are uploaded to the Arduino using the Arduino IDE (development environment, or the blue-window thing that you run to write sketches).
- Arduinos can only host one uploaded sketch at a time.
- “Arduino” refers to the design of the board. There are several designs and each design has subtle differences. There are even ‘clones’ (or copies) of the official Arduino boards available.
- Only certain pins on the Arduino are PWM-capable and are marked as ~ on the Arduino board. (Some boards don’t have the ~ marking. My Leonardo clone, for instance)
- When using pinMode(), the first parameter is the ID of the pin, the second is the mode you want it to operate as. The mode parameter is “aliased” meaning that you can use different parameters to mean the same thing. So, setting the mode to 1 is the same as setting it to OUTPUT and 0 is the same as setting it to INPUT.
- When using digitalWrite(), the first parameter is the pin ID. The second parameter is the value to write it to. Again, the second parameter is aliased. 0 is the same as LOW, 1 is the same as HIGH.
- PWM means Pulse Width Modulation and is used for analog signals. As one commenter on the video posted, PWM allows you to change the ‘duty cycle’ of the pin, rather than Ben’s stated ‘frequency change’ but essentially, you can think of it as a frequency change and see it by playing around with values.
- PWM essentially means that you send pulses of power rather than a (digital) on or off. The pulses can be faster than the eye can see, when dealing with an LED, for example.
- Serial….() allows you to feed back info via the serial connection through USB or the serial pins.
- AnalogRead() is appropriate for varying inputs such as joysticks where there is not an exact on or off. (I know, I know, basic, but he doesn’t make it clear what analog actually is, so…)
Everything You Need To Know About Arduino – YouTube.