New products for the #RaspberryPi B+ starting to appear

Apart from the previously mentioned cases, some more B+ centric products are starting to appear.

Over on the Cyntech shop, they’ve got the following:

  • 40-way ribbon cables of various designs (1 2 3)
  • 40-way paddle connector board
  • 40-way GPIO Cobbler boards (for use with the ribbon cables so you can break out to a breadboard). There are two variants: standard and T-shaped.
  • Another case, this time £4.99:


More on the #RaspberryPi B+

Russell Barnes has scored a scoop by interviewing Eben Upton about the brand new Model B+ and has produced a special podcast. You can listen to the podcast by going to the raspi.today site now and listen to Eben talk about the Foundation’s great new product.

There’s a lot of detail here about the design of the board, so please go over and listen to it and support Russell’s podcast! I’m not going to post spoilers, but it’s well worth listening to. I will say one thing: There will be an A+.


The Raspberry Pi Foundation included a video on their post with Eben and James introducing the board. Here it is:


Cases! So far, three cases have appeared. The first is the Multicomp case (£5):

the second is a case from ModMyPi (£5.99):

and the last is the expected PiBow (between £8.50 for the slimline Coupe and £12.95 for all the others):


Ben Everard from Linux Voice has written a very detailed review of the board here.

Presenting the #RaspberryPi Model B+

Are you looking for news about the Raspberry Pi 3B+? Take a look here.

Some huge news for you today.

The Raspberry Pi Model B+ becomes available today – the Foundation has just made the official announcement.

So, what can we expect from the B+? I was fortunate enough to be supplied with a board by the Foundation a couple of days ago so I thought I’d take you round it and show you the differences between the current model B and the new board.

The B+ I have came from Farnell/Element 14 and they’ve done a really nice job with the new packaging:

20140712_124931portrait
20140712_124950portrait

Inside the box is an anti-static bag containing the Pi and an instruction sheet with various pieces of information on it – don’t drop it in water, don’t stick it up your nose, that kind of thing. Inside the anti-static bag we go and here’s our first look at the B+ itself:
20140712_133655
As you can see, there are several differences to the B+, so let’s list and discuss them:
  • 4 USB ports – for the first time, you’ll be able to have a keyboard, mouse and wifi dongle plugged in without needing a powered hub. Bear in mind, you will probably need a more powerful power supply for the B+ if you want to use all 4 ports. They’re recommending a 2A supply. Of course, if you’re just using a mouse and a keyboard then a 1A supply will probably be absolutely fine.
  • Better USB hot plug capability – you should be able to plug in your wifi dongles in without reboots!
  • A new Ethernet port with activity lights.
  • The USB and Ethernet ports are now all in a straight line, rather than in the B’s staggered arrangement.
  • The yellow composite video port has gone and there is now a combined 3.5mm jack that provides audio and the analogue video signal.
  • The HDMI port, the CSI (camera) and DSI (display) ports have all moved slightly.
  • The micro USB power socket has changed sides. This means that all the ports are on the same side of the Pi – so cable management is much better with the B+.
  • The B+ sports a 40-pin GPIO header (compared to the B’s 26) and no longer has a P5 and P3 header. All the GPIO is on that one header now. The 26 pins to the left (nearest the corner) are backwards compatible so all your add-on boards will work (with the exception of any audio boards like the Wolfson which requires the P5 header which is, of course, not on the B+).
  • 4 mounting holes, conveniently located on the corners of the board rather than the 2 oddly-placed holes on the B.
  • On the back, the B+ uses a micro SD card (as opposed to the B’s full size SD card) with a push-push action (i.e. you push it in and it locks in place, you push it again and it clicks out). The card still protrudes slightly (presumably to make it easy to remove) but the (metal) slot is a vast improvement on the flimsy plastic of the B.
  • Much clearer silk screen labelling in general.
  • Lower power requirements – apparently it will use between 0.5 watts and 1 watt less than the model B.
  • Much better audio output thanks to a dedicated power supply.
  • Rounded corners! (Still doesn’t fit in an Altoids tin but who cares! The aesthetic change is welcome)
  • The CPU (BCM2835), GPU and memory is still the same – there is no change in the overall architecture – this has been done for compatibility purposes and to keep the price point low.
  • The price point is the same. $35 or £28 ish.

Here’s the pin diagram for the 40-pin GPIO header:

bplus-gpio


Here’s some close-ups of the board:

20140712_133712 20140712_132302

IMG_20140711_204323-nopm-20140712_131819

So, how does it work in practice? As you can see from the picture above, I powered it up (thanks to The Pi Hut for the 2A power supply!) with a brand new NOOBS card. Everything worked as per usual – I got the rainbow box up, the NOOBS flash screen and then the normal boot cycle. It just worked.

I decided the easiest way to prove the GPIO compatibility was to use a Pibrella:

20140712_133935 20140712_134205

I wrote some quick-and-dirty Python and confirmed that the Pibrella does, in fact, work correctly, which is good. I also, as a sanity check, ran through the CamJam EduKit worksheets just to make sure they were okay. They were completely fine and operated as expected.

So, in conclusion, I’d just like to thank the Foundation for supplying me with the advance board – it was a real privilege to have a play around with the B+. I hope everyone finds the information useful – feel free to leave questions and comments!

For those of you who like more technical detail, here are some documents you may find interesting:

You can get hold of a B+ from Farnell (the Buy link doesn’t currently work though) and RS (the product is not listed yet) but I’m recommending getting it from The Pi Hut – they’re my local company (near Cambridge) and always reliable.

You can see other coverage of the board…

Energenie radio controlled sockets and #RaspberryPi transmitter – review

I was sent one of these to review by Energenie. No preconditions for it – I’m free to say what I like.

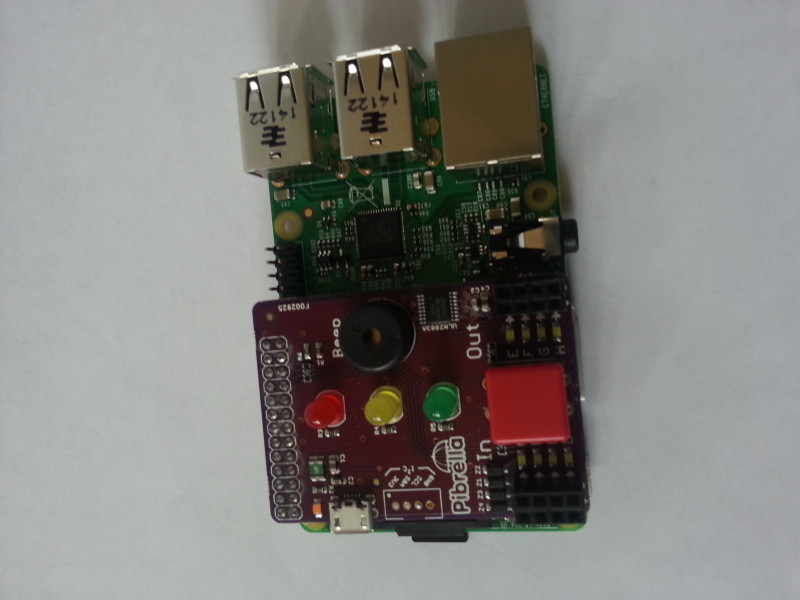
The box contains a Raspberry Pi GPIO plug-in board and two sockets.

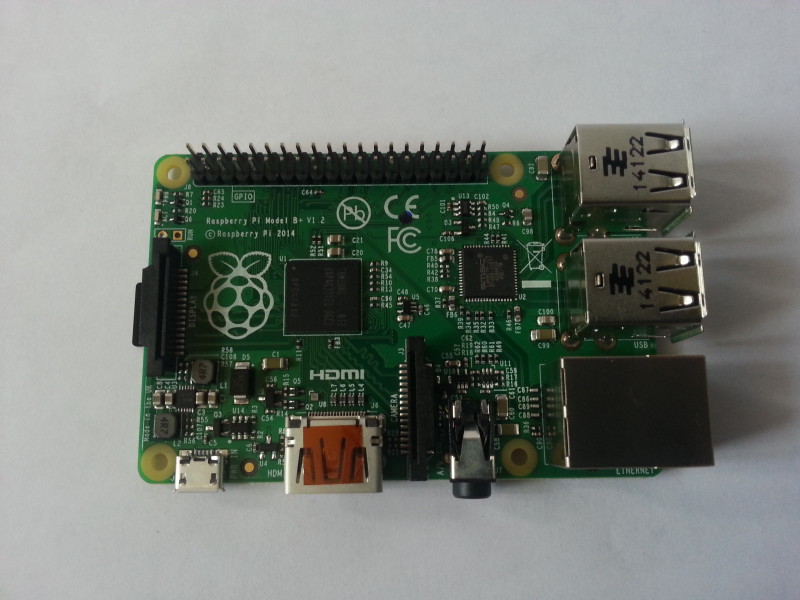
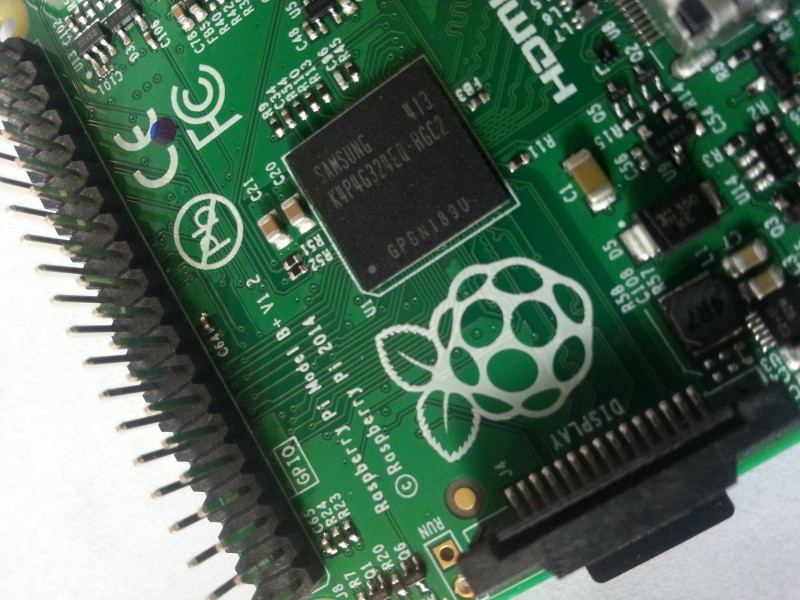
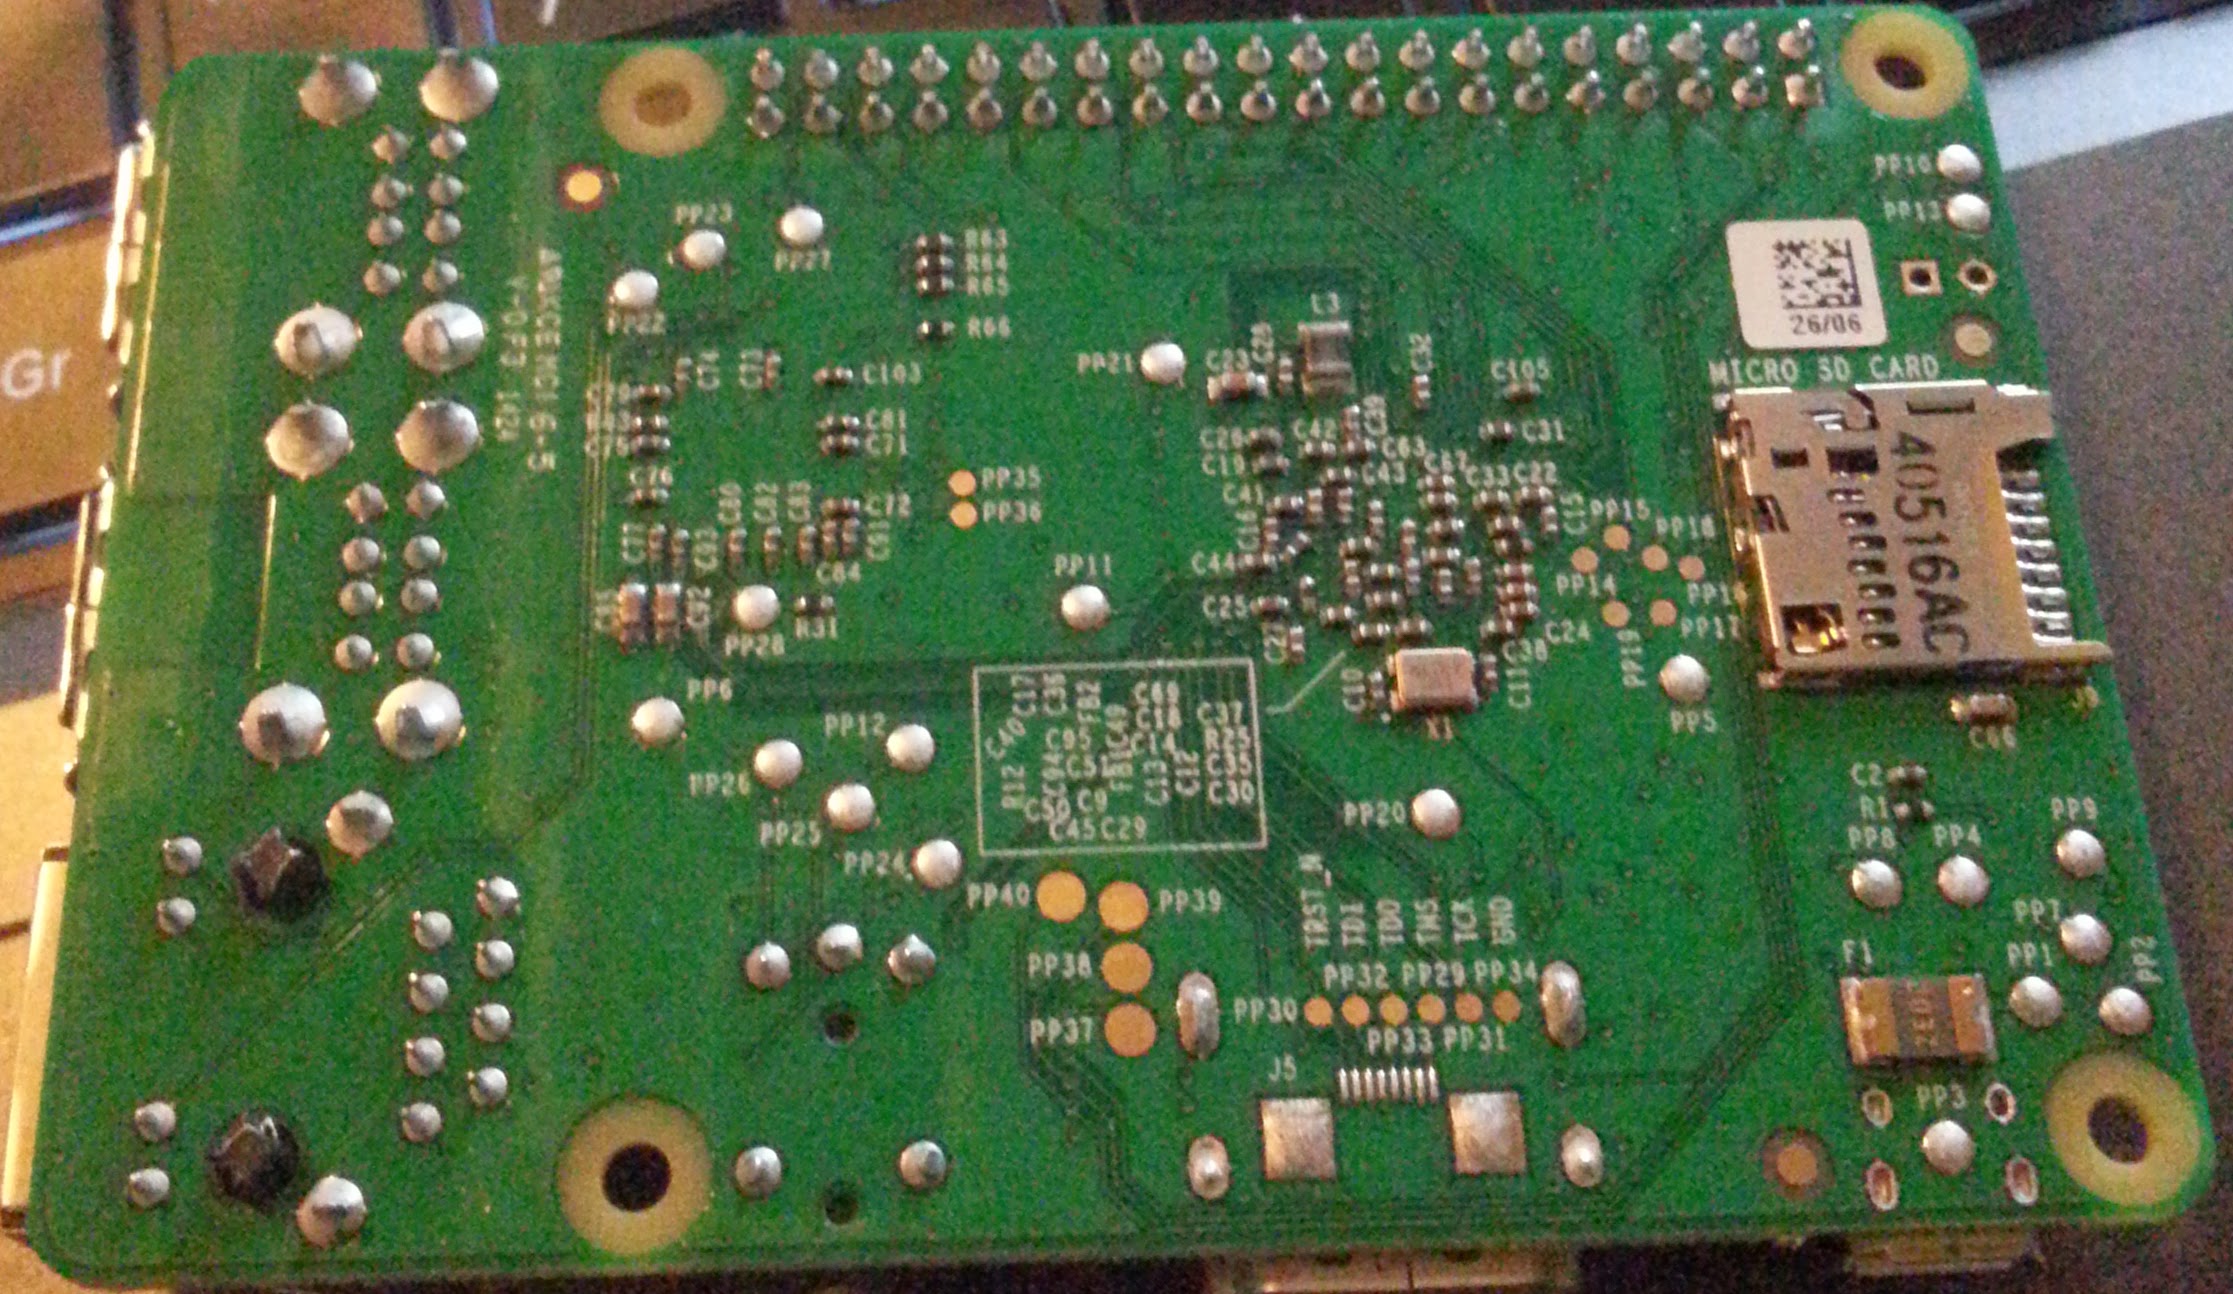
The board itself is tiny and plugs directly into the GPIO pins on the Pi. Most the actual circuitry is on the underside (as you can see from the picture above).

There is no documentation included in the box, which is a shame. Instead, you have to return to the page you purchased it from to download the documentation and a sample of the code.

In order to run an experiment with it, I first of all turned the Pi on, logged in and used the following command to download the test script:

wget https://energenie4u.co.uk/res/software/ENER002-2PI.py

I plugged the socket into an extension lead and then plugged a digital clock in to the socket. The red light started to flash, which I assumed was some kind of ‘pairing’ mechanism. I then ran the test script which cycles through the following:

  • Turn socket 1 on.
  • Turn socket 1 off.
  • Turn socket 2 on.
  • Turn socket 2 off.
  • Turn all sockets on.
  • Turn all sockets off.

Sure enough, when socket 1 was turned on, the digital clock came on, and then went off again when I cycled to “socket 1 off”.

An interesting thing happened when the socket was turned off: my screen flickered. I suspect this has something to do with using the socket in an extension lead, into which my monitor was also plugged, but still it was pretty disconcerting!

The good thing about the demo script is that it is extensively commented so it’s very easy to work out what is going on. I will be altering the script to provide a web interface to the two sockets so I can turn the sockets on and off via mobile phone.

So what do I think of it? Well, at £20 it’s an incredibly cost-effective way of getting some home automation going. Because the sample software is simply a script written in Python, it should be fairly easy to adapt it to whatever use you see fit. For instance, and this is waaaay out there, you could program it so that when you entered a house in Minecraft a light was switched on in your house! You could also do simpler things such as have an automatic timer to turn a set of sockets off at a certain time.

It’s not perfect – you can only control 4 independent sockets with the GPIO board (although you can link more than that together so that groups turn on/off at the same time), and that may not be enough for you to put together a complete home automation solution. The only other thing I can say negative is the lack of a simple sheet of instructions included in the box – even if it was just a slip of paper with a URL on it, it would be an improvement.

I’m very happy to recommend the Energenie kit – it’s a great way to get into home automation without breaking the bank and you can easily adapt the sample script to your needs without modifying your Pi set-up.

Rating: 8.5/10

You can buy one of these starter kits from Energenie’s online shop.

38 In 1 interchangeable precise tool set – review

I bought one of these from The Pi Hut on Friday and thought I’d do a quick review.

Here’s how it comes, in a box:

20140712_173848sm

It’s identified as a JK-6088 A, but that doesn’t really mean much, so let’s open up the box and see what we’ve got.

20140712_174521sm

The main box is made out of plastic. There’s a slide switch at the bottom to open the top. When you do, the bits stand up! Very handy.

20140712_174545sm

Inside are 36 screwdriver bits, the screwdriver handle itself and an extension piece. Here’s what the screwdriver looks like with a bit in:

20140712_174605sm

and here it is with the extension piece:

20140712_174619sm

The bits are of varying different types and sizes, including a triangular bit which has enabled me to unscrew an old Gameboy case – it’s an exact fit.

The screwdriver is a nice weight in your hand and has a rubberised grip.

About the only thing I can find wrong with it is that when you close the lid you have to manually poke the bits so that they lay flat.

The cost of the set is £5 and, frankly, for £5 you can’t go wrong – for electrical and electronics work they’re pretty much perfect.

Rating: 10/10

You can buy one of these sets from The Pi Hut here.