Another guest post from Nevil Hunt, creator of the Seven Segments of Pi

Part 6 – Soldering is Fun! But respect the 300oC end!
Last week I talked about how in the PiDice Workshop pupils learnt how to write Python to control:-
– GPIO as Inputs
– GPIO as Outputs
– Time Delays
– Random Numbers
And in the PiStopWatch Workshop pupils learnt how to write Python to generate:-
– Sound Effects
– State Machines
Giving them the software skills needed to write their first computer game…

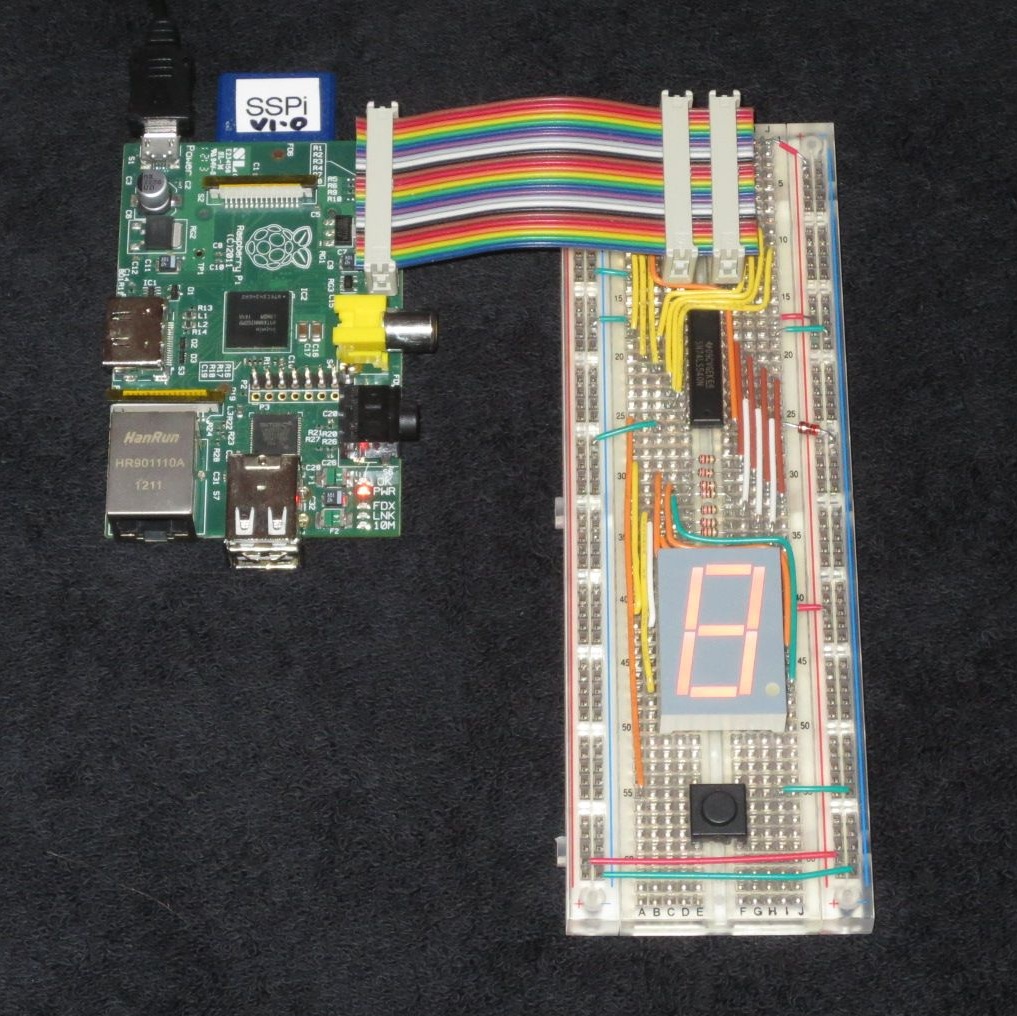
Writing the PiDice Software took the Year 8 pupils a single 1.5 hour Workshop. Writing the PiStopWatch Software took the pupils two 1.5 hour Workshops. Writing the software for the game “Figure Eight My Pi” would be more demanding! To complete it they needed to write most of the software in their own time…so they needed their own Raspberry Pi…and their own “Seven Segments of Pi”! That meant the Breadboard “Seven Segments of Pi”…
… and Veroboard “Seven Segments of Pi”…
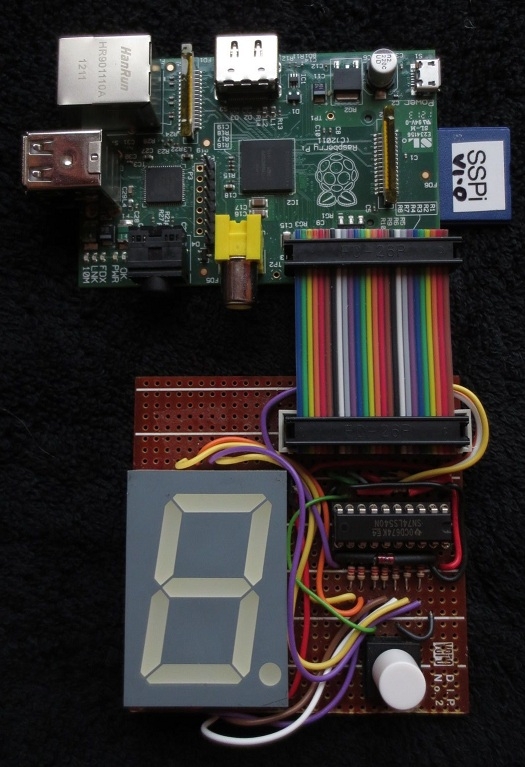
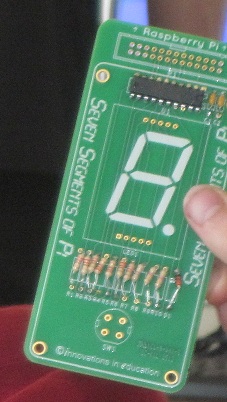
…would need to be made into a Printed Circuit Board!
I spoke to my friends at…

…who for nearly 20 years have been doing my PCB Layouts. They agreed to do the PCB Layout for free!
I then spoke to my friends at…

…who agreed to make the PCB’s for free!
I wanted the PCB to have the look and feel of a games console – possibly the simplest games console in the world? I also wanted the pupils to assemble the electronics themselves. I wanted to show them…
”Soldering is fun!”
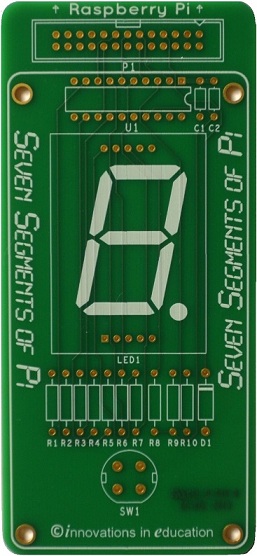
The electronics needed to be clearly laid out to aid assembly. Unfortunately many electronic components can be fitted onto a PCB either way round…but will only work when fitted the right way round! So I added silk screen marking on the PCB to make the orientation of the components as clear as possible!
With the PCB layout completed at ALS in Berkshire the design files were sent up to Merlin in Deeside for fabrication. A week later the PCB’s arrived!
By now, in addition to the Year 8 Workshops at Kennet School, I was also running Workshops with Year 6 pupils at Blewbury Primary in Berkshire and Cholsey Primary in Oxfordshire.
At Kennet School in Thatcham their Design & Technology Dept kindly allowed us to use their soldering irons…
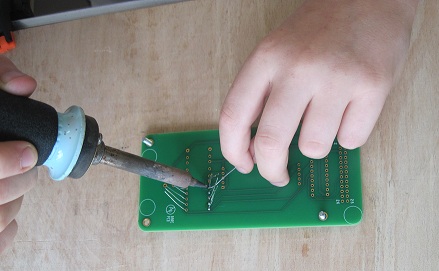
At the Primary Schools I supplied 3 soldering irons for the pupils to use. Most of the pupils had never soldered anything before but they loved it!
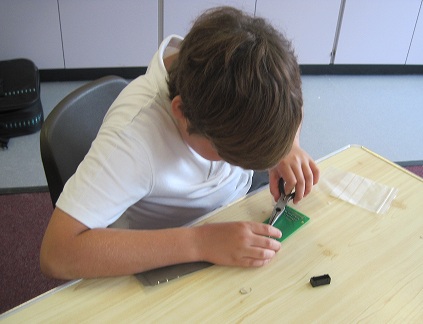
Although one pupil never did get the hang of returning the soldering iron to its stand! He seemed to treat it like a pencil, and kept putting it straight down on the table…forgetting that the tip was at nearly 300oC!!! A bit of supervision was therefore necessary!
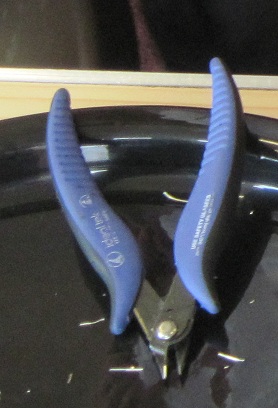
Essential tools in addition to the soldering iron and solder were a pair of wire cutters…
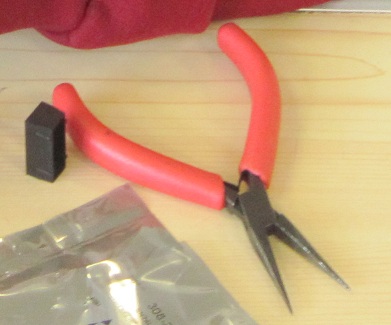
and small pliers…
It took the pupils two 1.5 hour Workshops to assemble and solder their “Seven Segments of Pi” PCB’s…but they didn’t all work first time! Most faults could be spotted by a close visual inspection so I gave them a magnifying glass…

…to check their soldering!
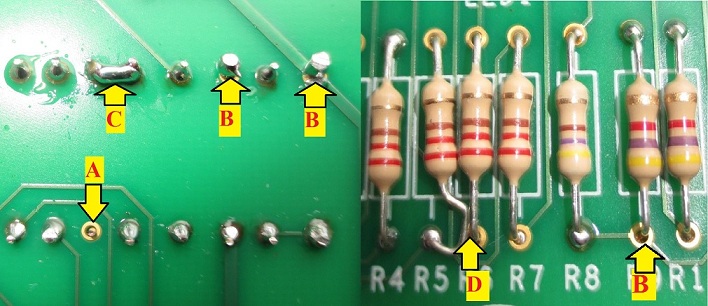
Common faults included
A) – Solder joints not soldered.
B) – Solder joints poorly soldered.
C) – Solder shorts.
D) – Component wires shorting.
Most of these could be rectified just using the soldering iron, pliers and/or cutters, but for some large solder blobs I used a solder-sucker…

or desoldering braid…

I know not all schools have access to soldering irons hence I plan to offer “Seven Segments of Pi”boards both in kit form and pre-assembled. I want as many pupils as possible to have the chance to take on the challenge! But where schools can organise access to soldering irons, soldering the kit adds an extra dimension to the challenge! Even if their “Seven Segments of Pi” boards don’t work first time there is an extra sense of achievement when they find the fault, correct the fault and then it works! And when they write their software, they are not writing software to run on a “Seven Segments of Pi” board, they are writing software to run on their “Seven Segments of Pi” board!
The pupils now had their own “Seven Segments of Pi” board…
They now needed an SD Card…
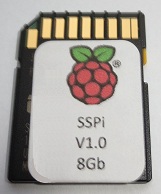
…so they could write their “Figure Eight My Pi” software! But the SD Cards would be plugged into the school’s Raspberry Pi during the Workshop then plugged into their own Raspberry Pi when they got home! It had to work in both!! And it had to still be in their possession when they got home!!! So next week I will describe some of the technical and practical challenges I faced running a Raspberry Pi Workshop in which pupils were encouraged to carry on writing their software at home. This Blog will be entitled…
”NOOBS to the rescue! …but Mr Hunt – I’ve lost my SD Card!”
If you are interested in learning more about the Seven Segments of Pi visit my Web Site www.SevenSegmentsOfPi.com or watch the “Seven Segments of Pi” YouTube Video. You can also watch Carrie Anne Philbin playing “Figure Eight My Pi” at the CamJam, courtesy of Alex at RasPi TV.