Paul Brown sent me one of his MyPiFi boards to assemble and try out. Here’s how I got on.
The MyPiFi is a (very) small board that plugs into the GPIO pins of the Raspberry Pi. It features 3 LEDs (red, amber, green) and a button. It’s been primarily designed as an introduction to soldering and GPIO programming and it does that very well. It comes as a kit of parts that you need to solder together:

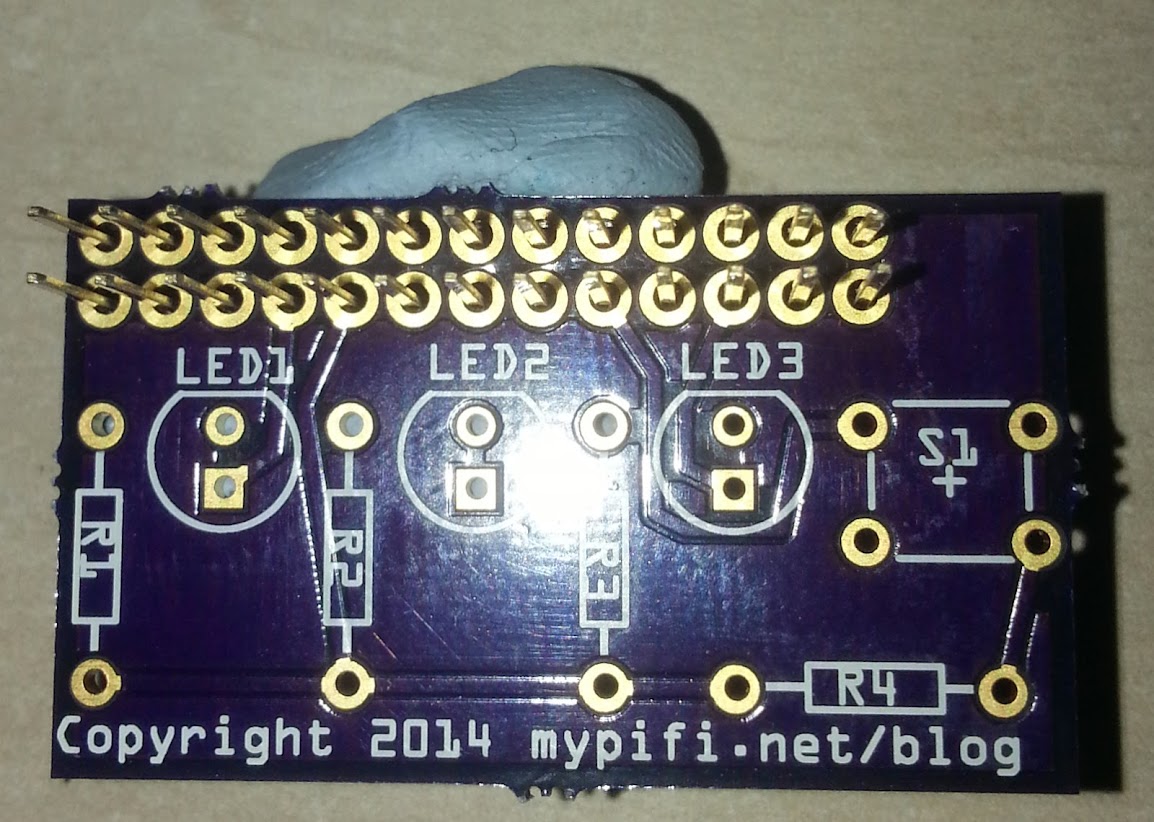
The main board is an attractive purple colour (although this may change during production) and all the holes are clearly labelled so you know what to solder where. For those who buy the board, note that the black part of the supplied GPIO header goes on the underneath of the board with the pins poking through to the side with the labels on 🙂
Here’s some photographs of the assembly process:
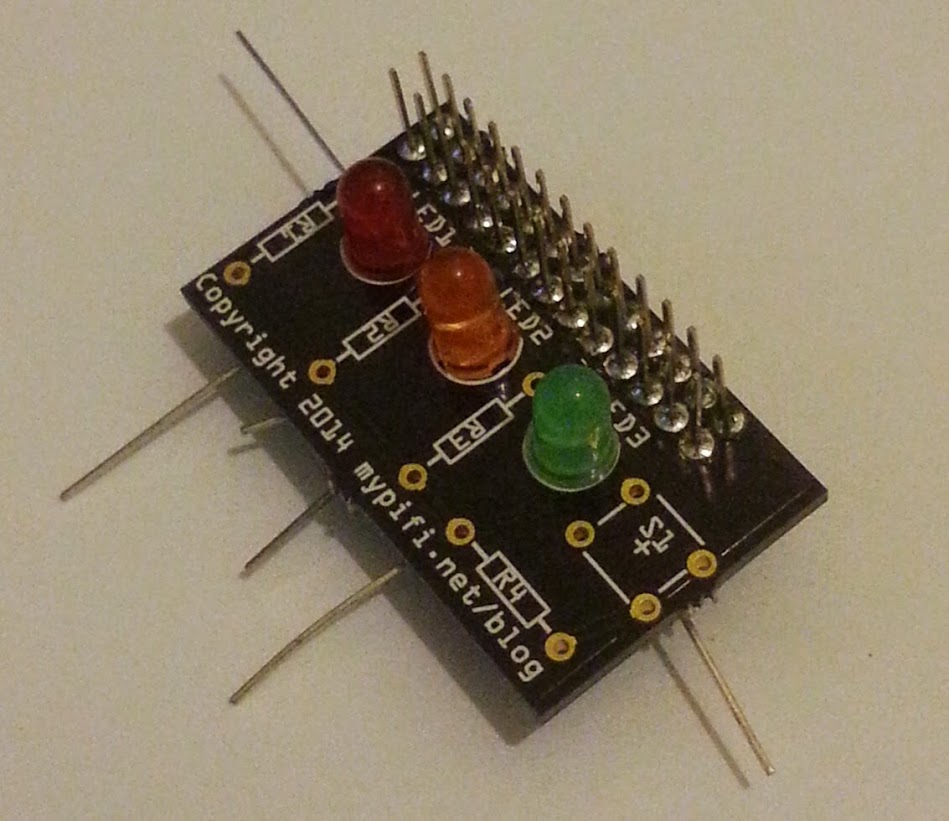
Use Blu-tack to hold things in place if necessary. This is particularly important for the GPIO header:
Soldering the LEDs:
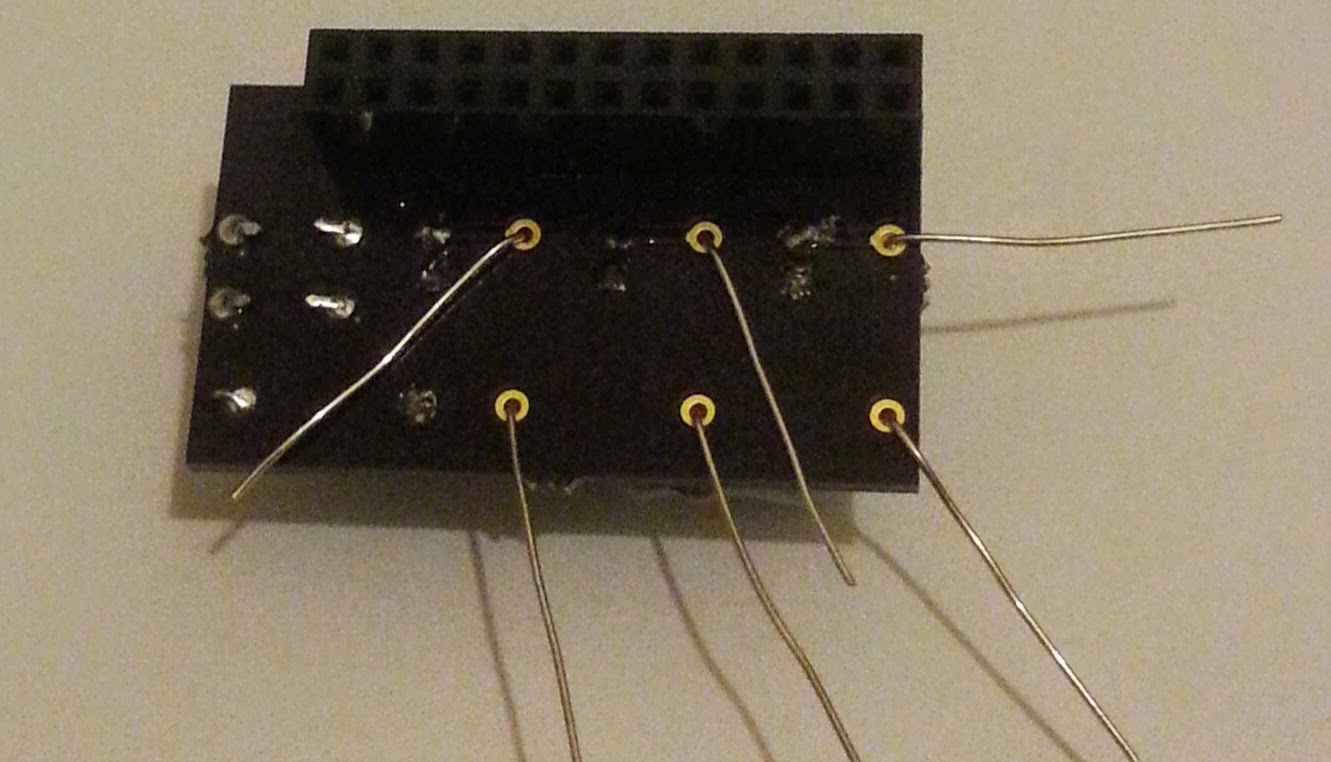
Underside of the board when soldering the resistors:
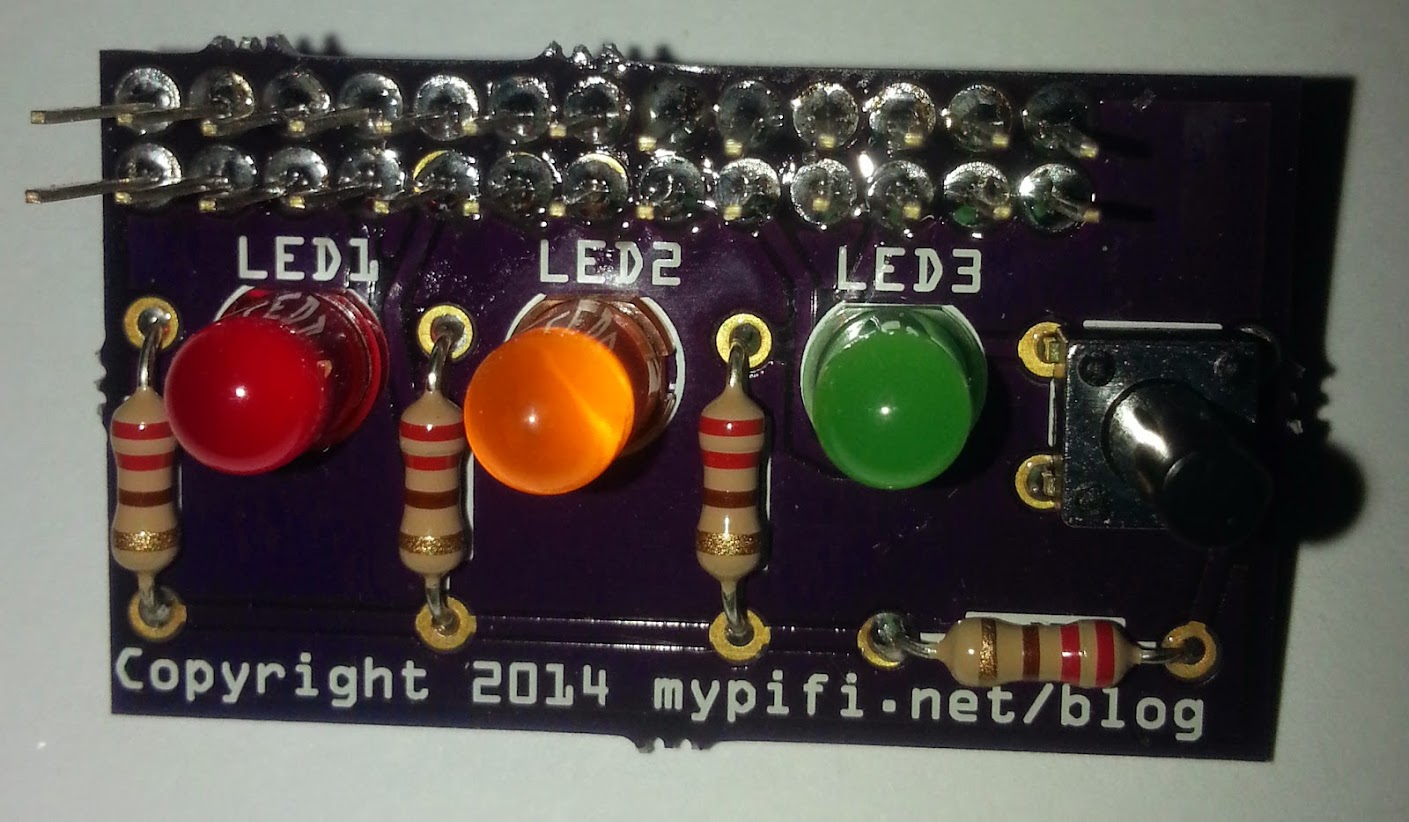
The completed board:
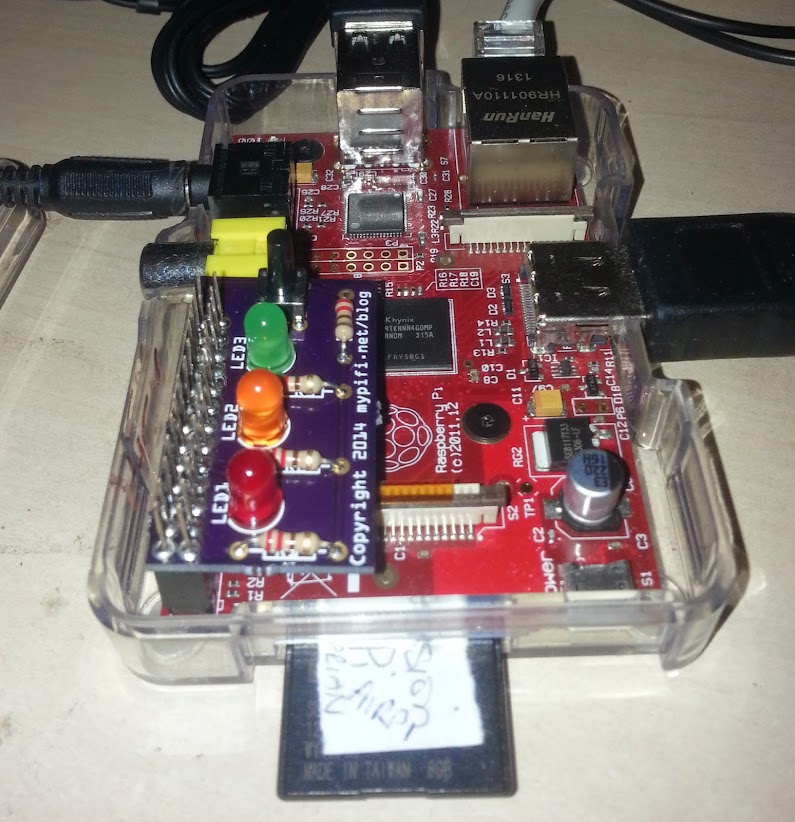
The MyPiFi in situ:
It’s a simple board to put together, and it will teach you very quickly how to do soldering badly, and how to do it well. The 26-pin GPIO header in particular is a challenge due to the extended pins. It’s possible that it might have been better to supply a non-extended header, but that’s just because I’d like to see it kept as simple as possible. Having said that, the extended header is a great way of teaching you to have a steady hand when soldering. Adding in the other components is much easier and it was a real pleasure to solder. One of the good things about the board being so small is that it doesn’t need any extra support or buffering to stop it touching the rest of the Pi – it sits very solidly on the GPIO pins.
Programming the board is extremely simple – Paul supplied the pin-outs and I knocked up a quick Python script – that’s the other thing it’s good for, teaching GPIO programming, and it does this very well. I hear that it will also be given support in ScratchGPIO, so that’s two options straight away for using it.
As a board, it is what it is: it’s very simple and is ideal for both beginners and schools. At £5-6 for the board, it’s also at roughly the right price point and I fully recommend it for those who want to get into soldering and GPIO programming. It’s also ideal for teachers, as long as they don’t mind soldering the boards up.
The Kickstarter is (as of today) still running, so I recommend you head over there and pledge to get a board
Rating: 9/10


