Matt Hawkins (aka The Raspberry Pi Spy) sent me one of his new GPIO add-on boards for the Pi called the BerryClip+.
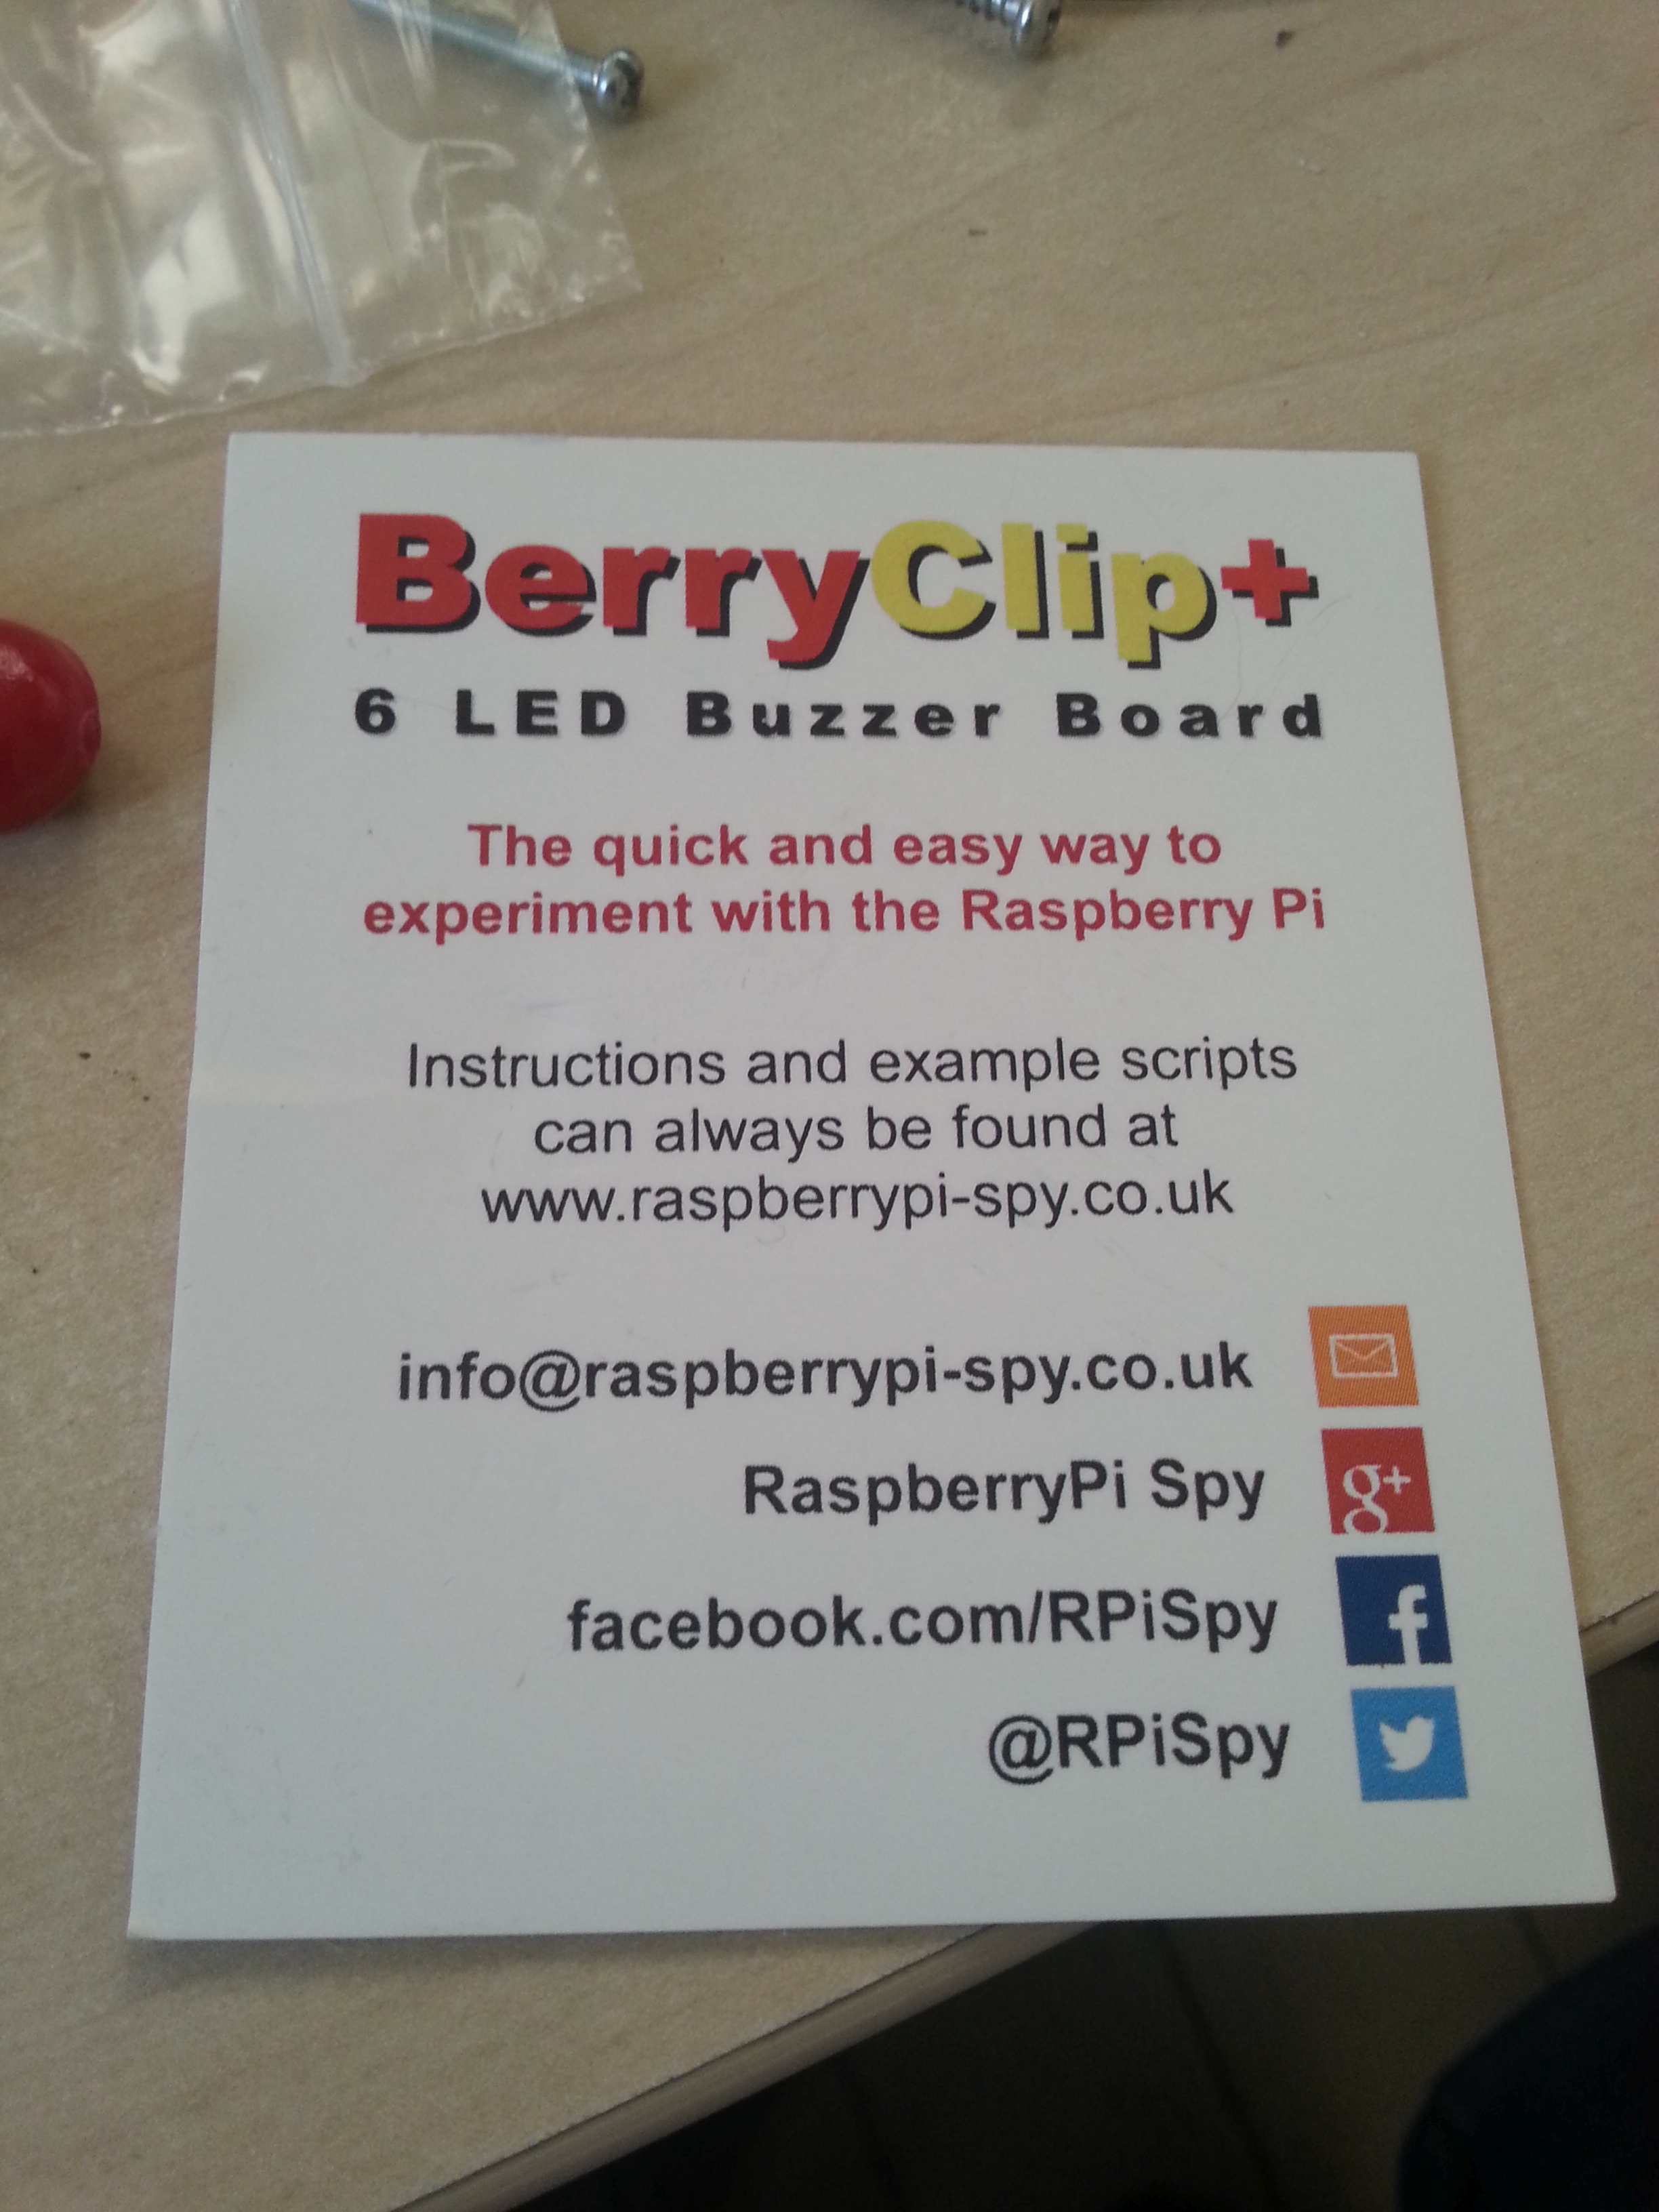
The BerryClip+ is a simple, half-sized add-on board for the Raspberry Pi that plugs straight onto the GPIO header. It contains 6 LEDs (2 red, 2 amber, 2 green), 2 momentary push buttons and 1 buzzer. It is an improvement over the original BerryClip in that it has an extra button and also breaks out the majority of the GPIO pins to a separate header. You can watch a review of the original BerryClip on the Raspberry Pi IV Beginners YouTube channel.


The BerryClip+
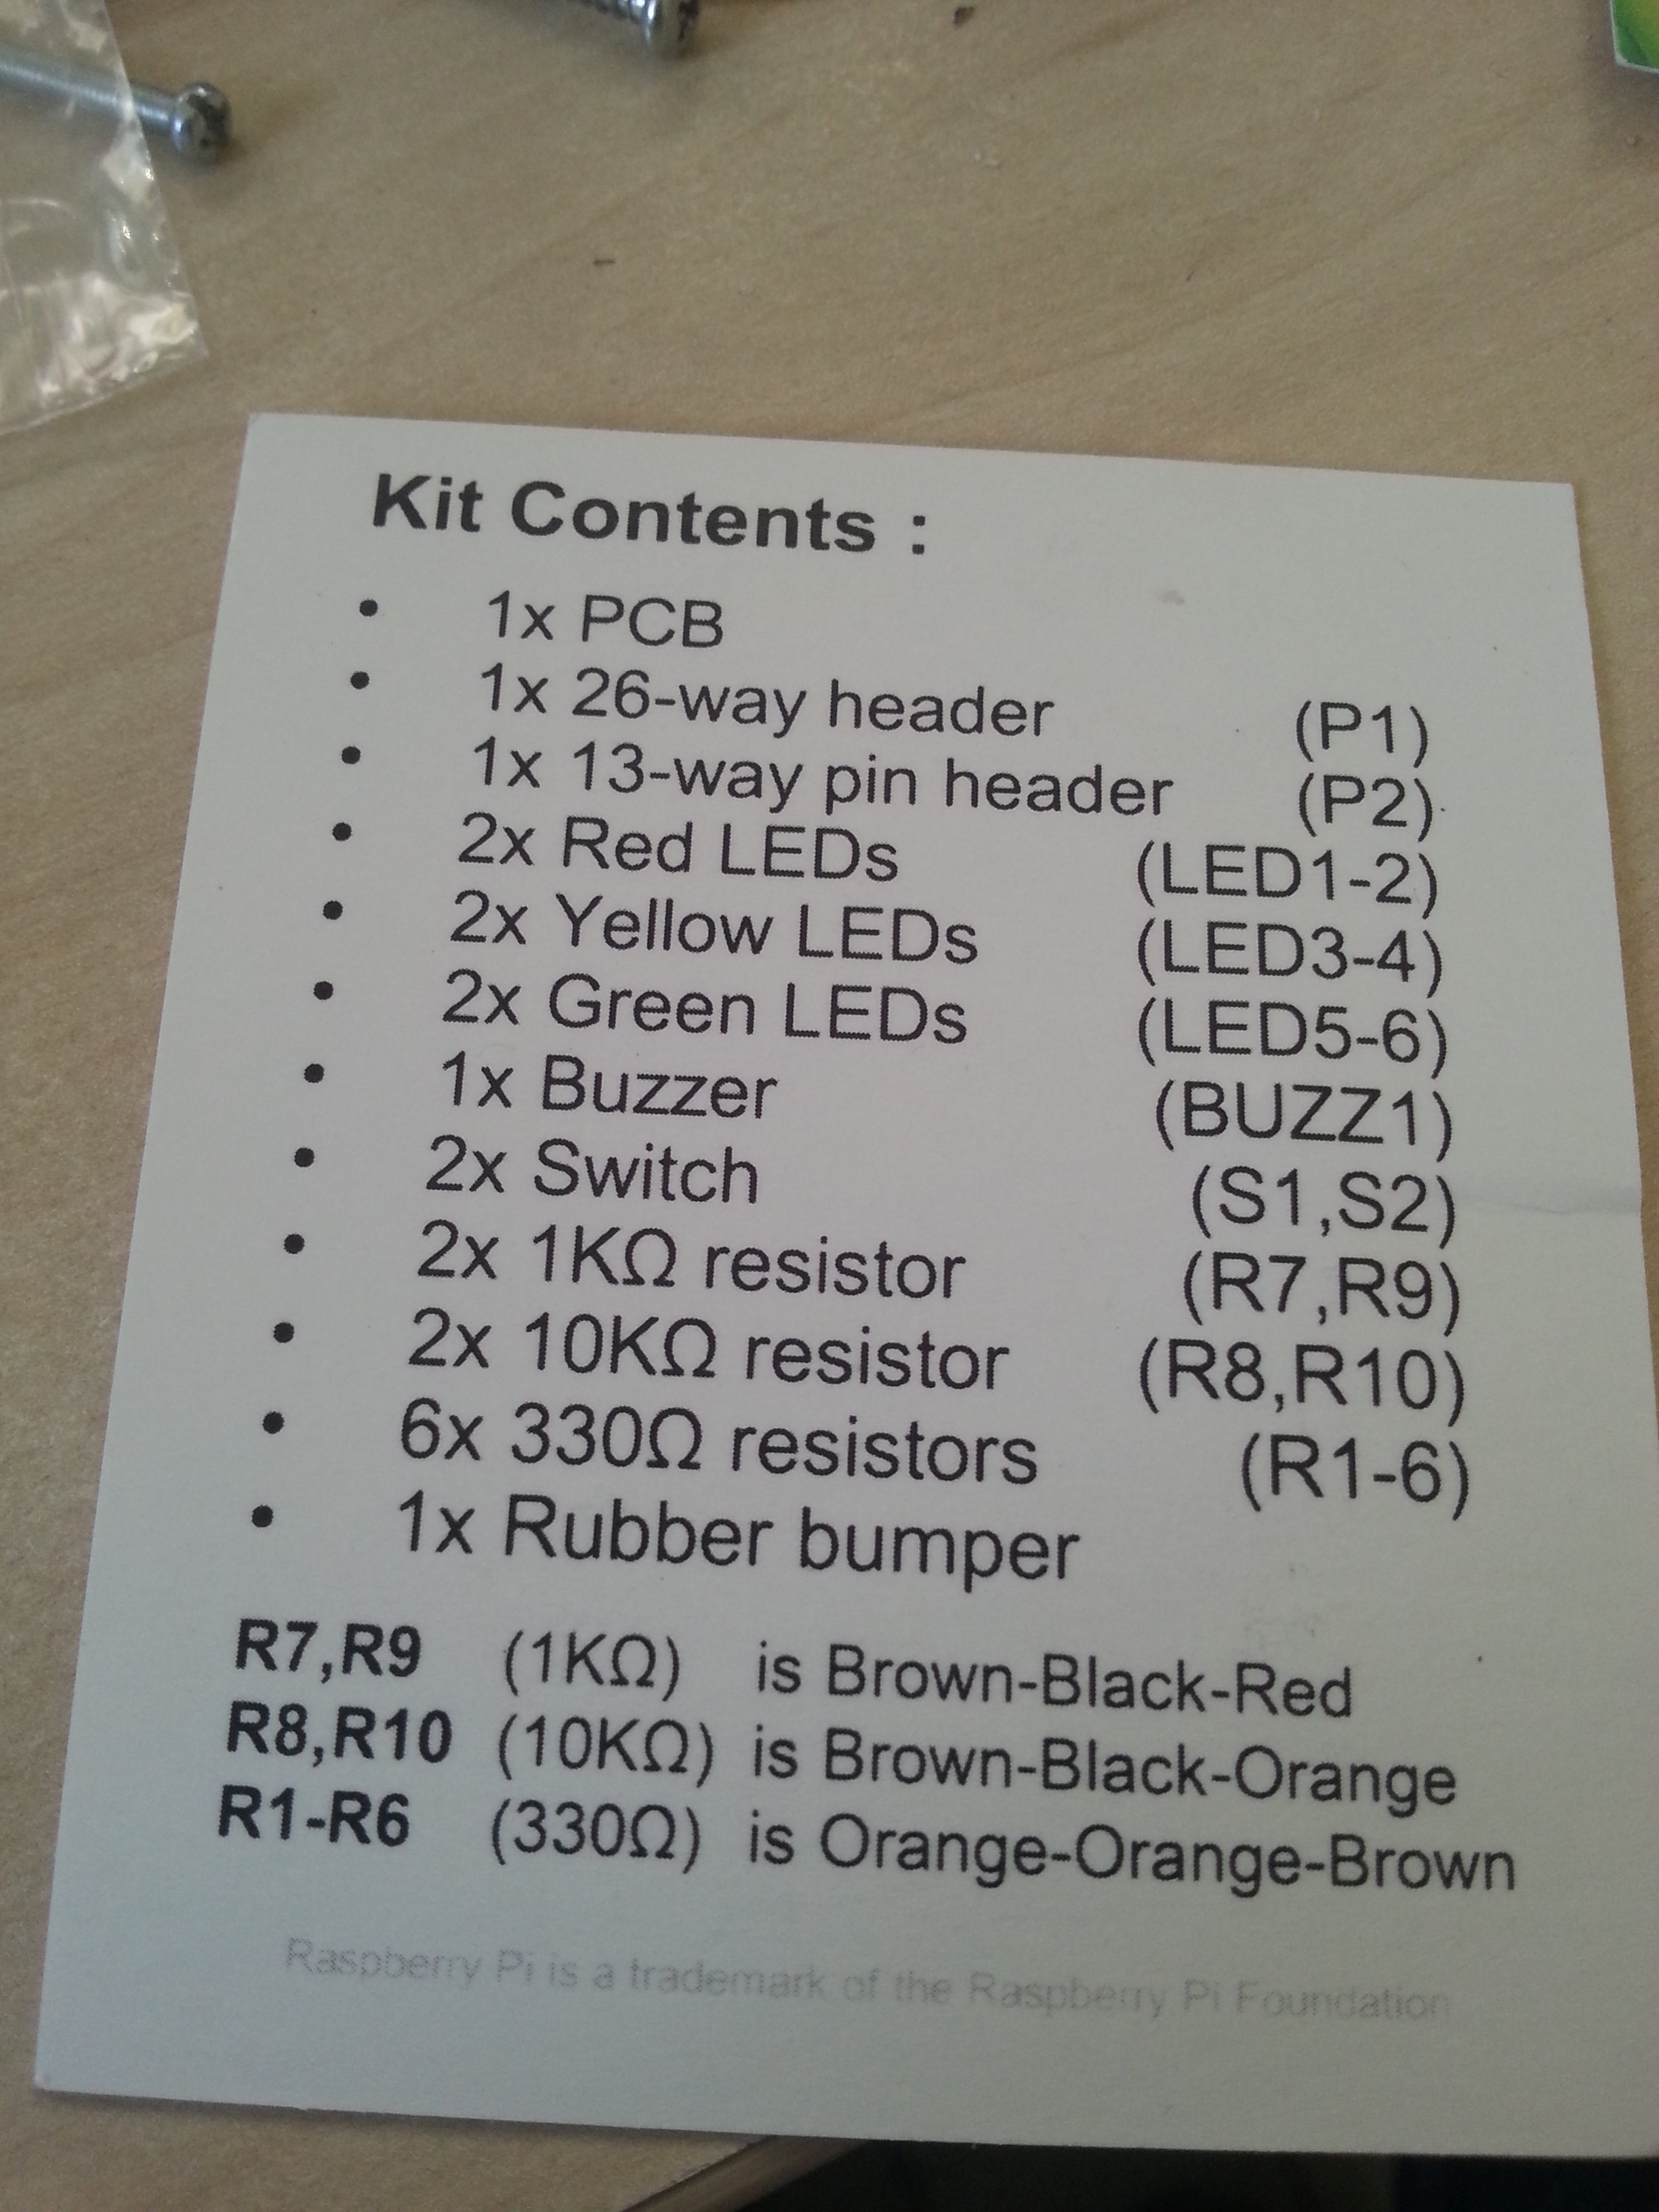
As with the original BerryClip, the BerryClip+ comes as a kit. The kit contains all the parts you need and a card listing the bill-of-materials and links to some help. I would like to have seen explicit mention of the test scripts that you can download on the card, but if you end up on the instructions page then you’ll find these soon enough.
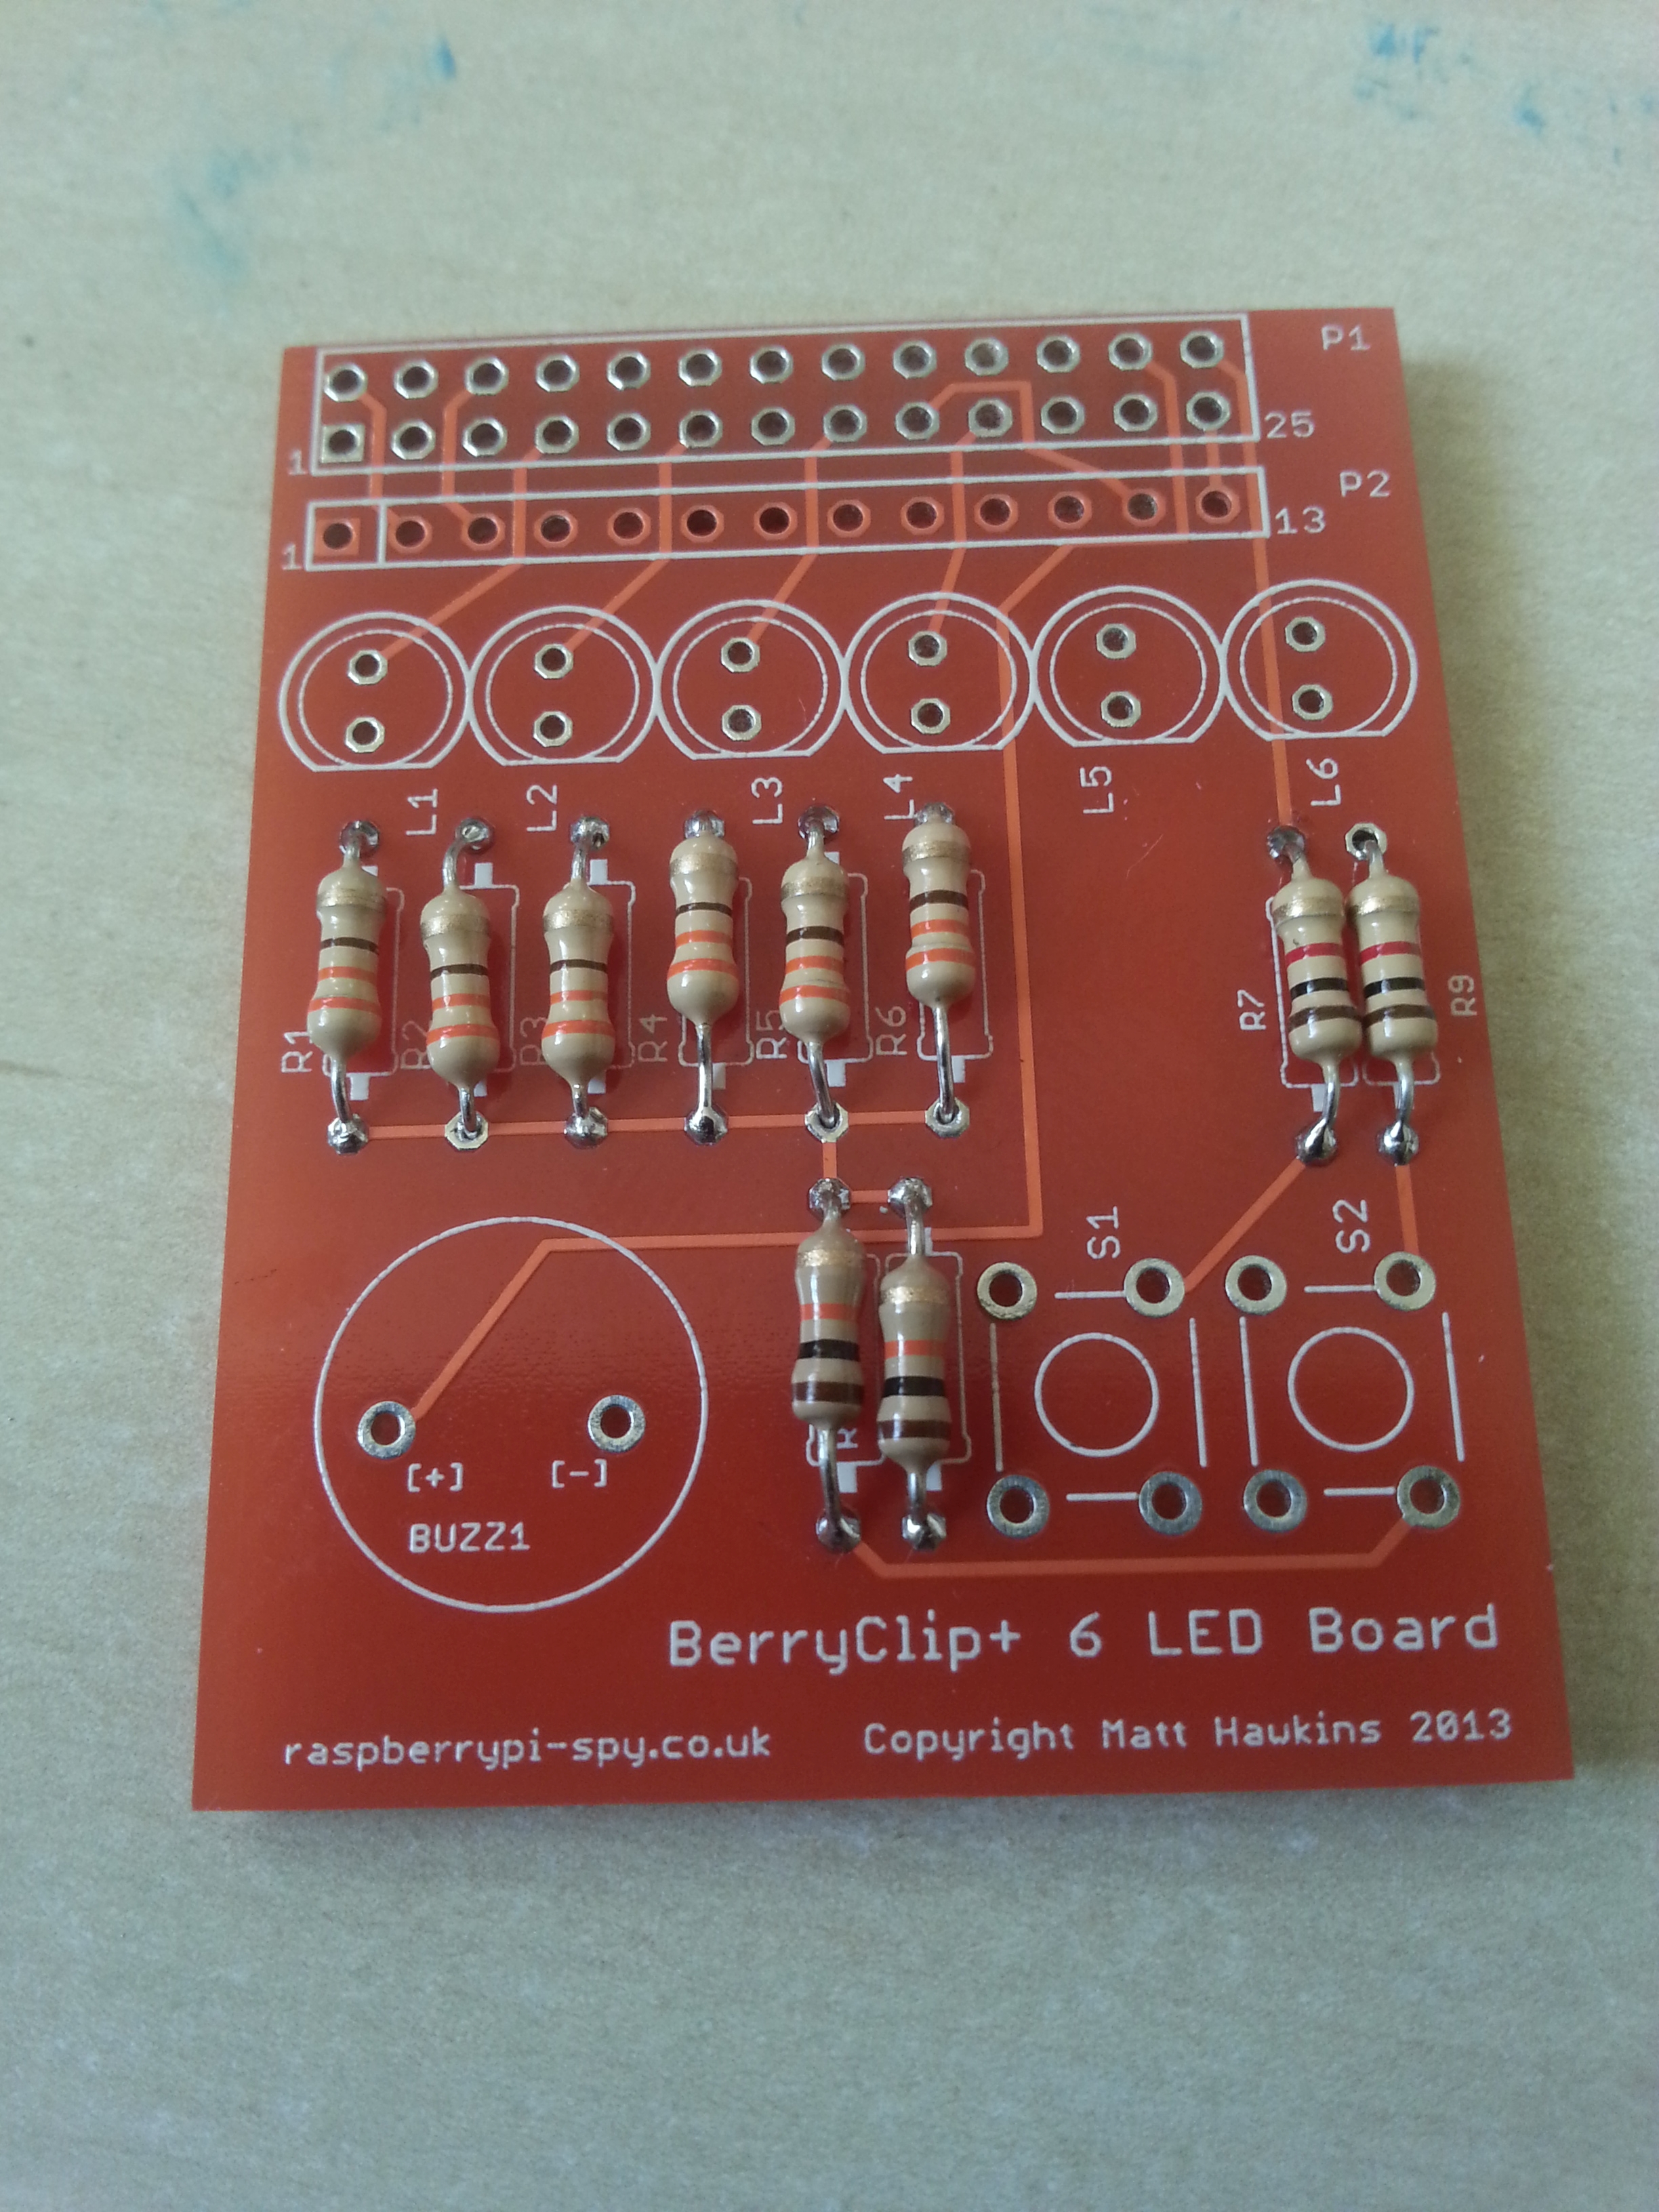
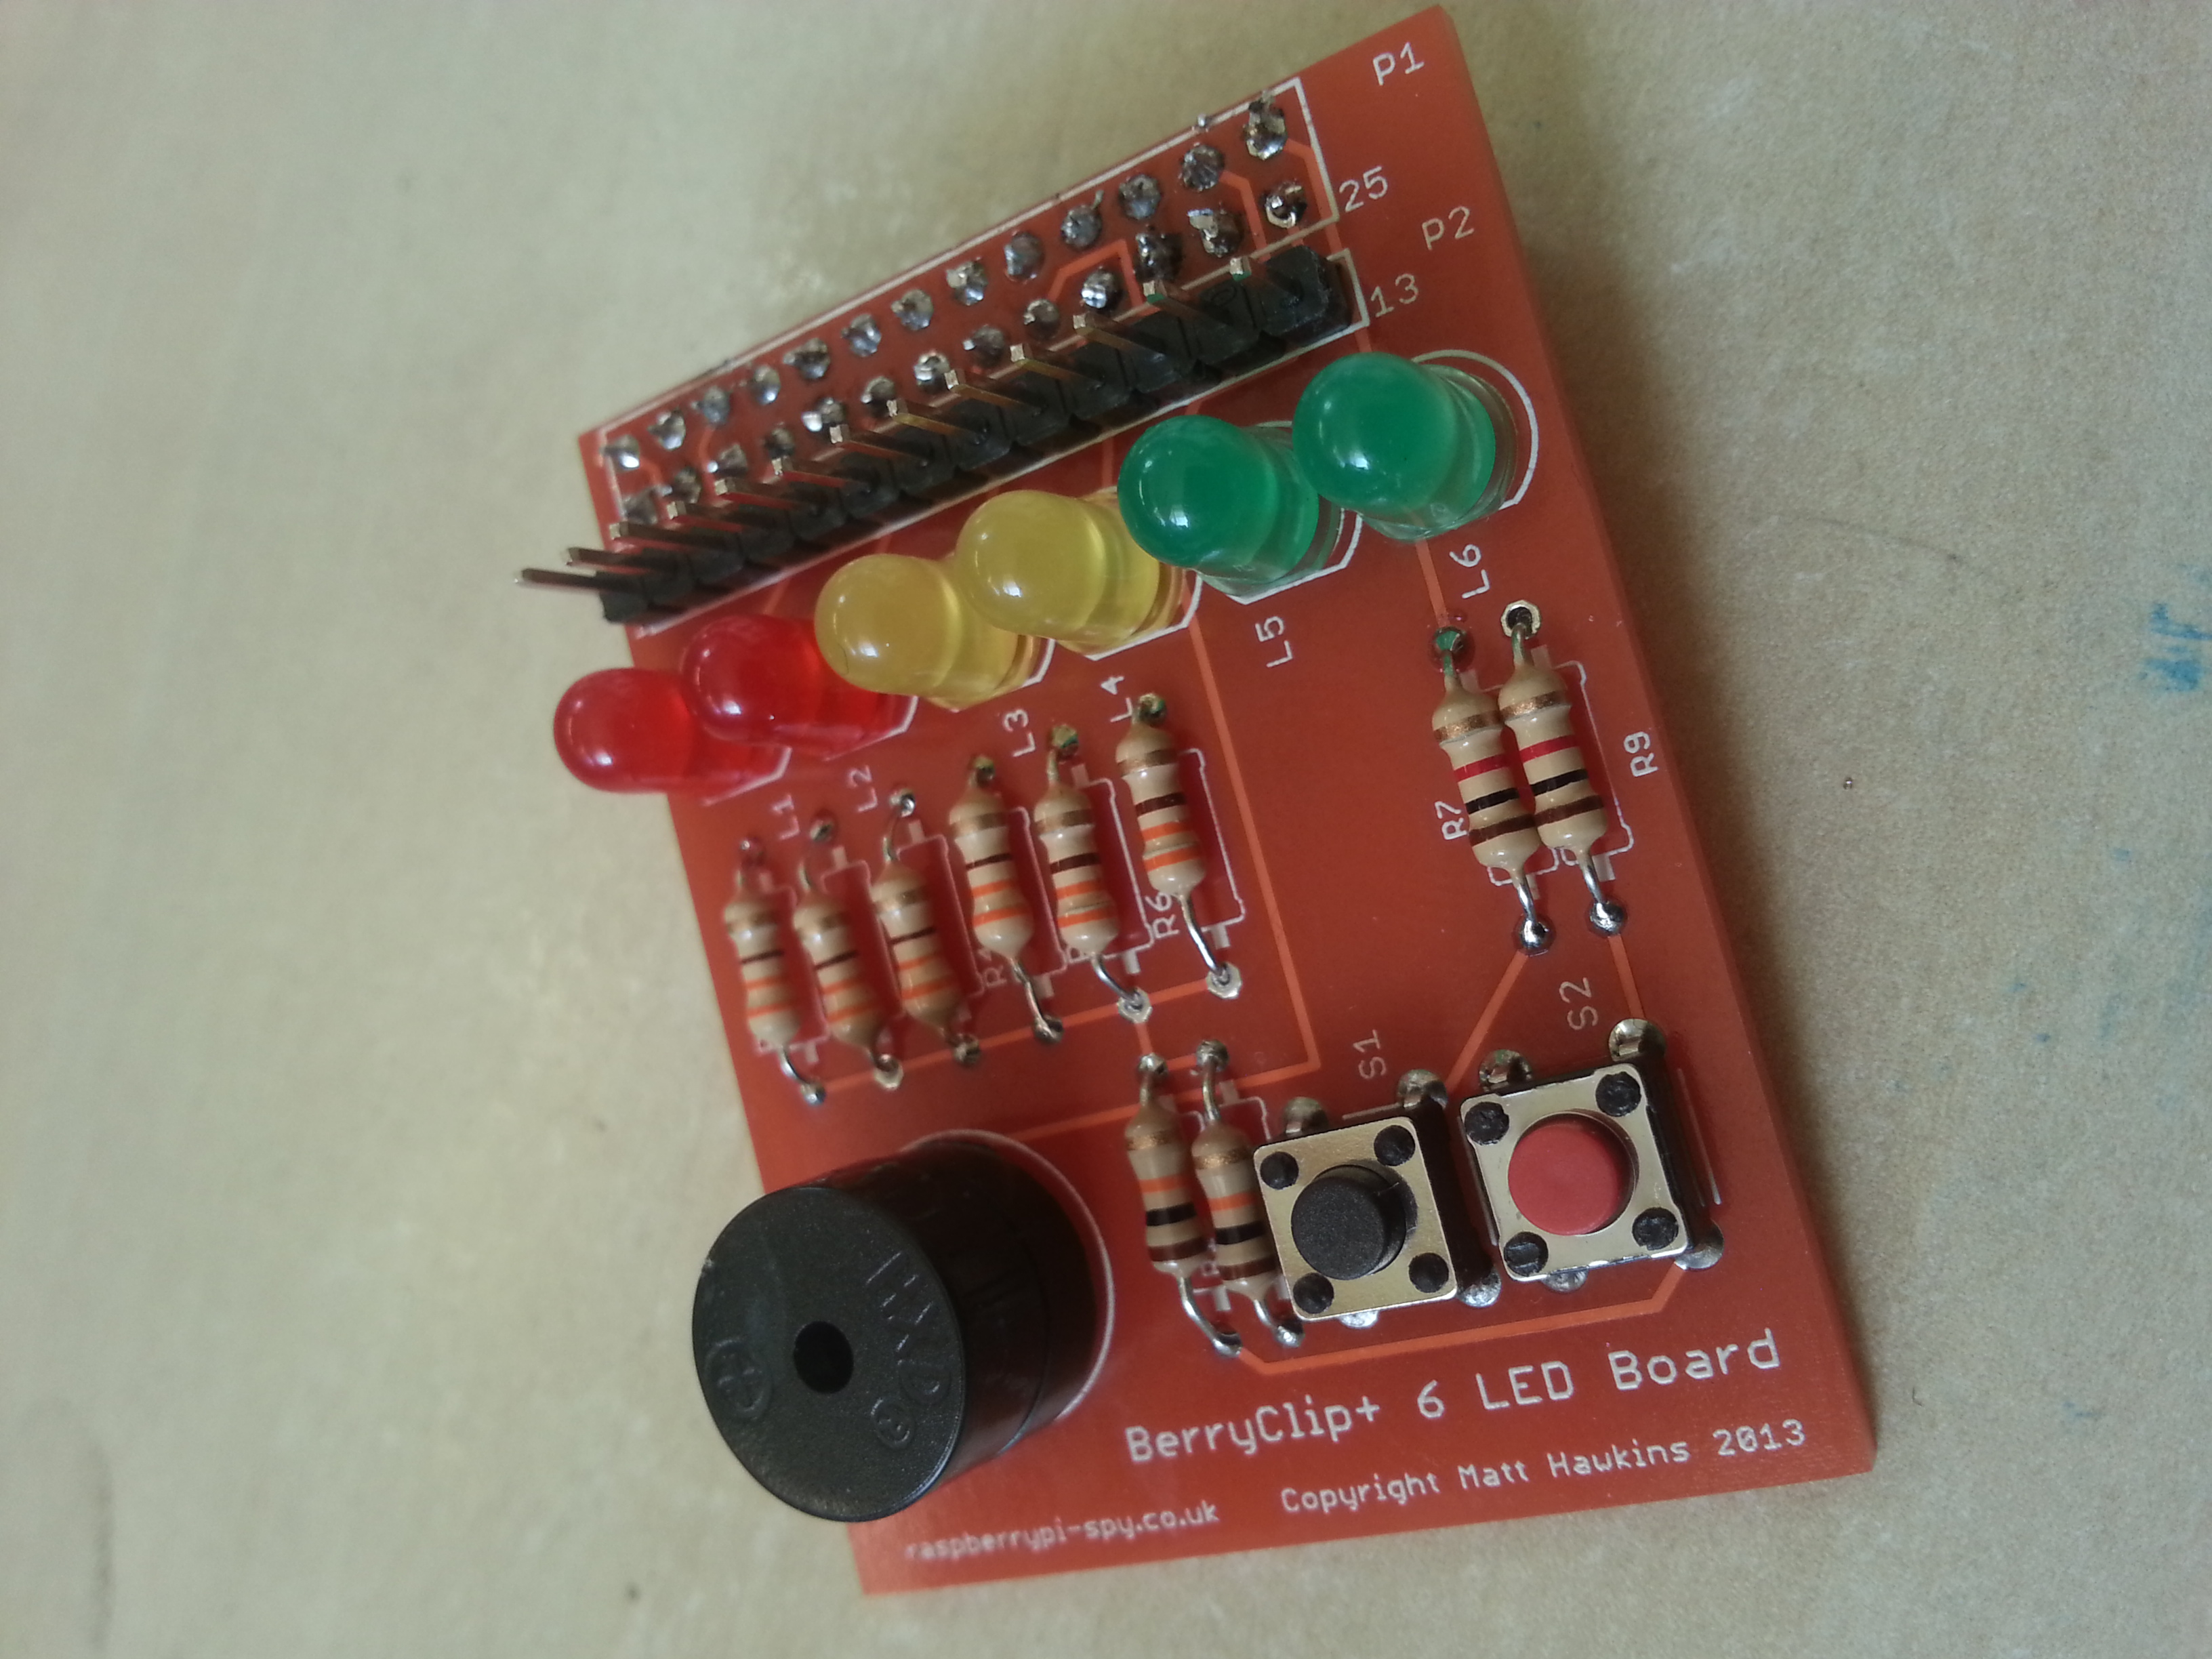
As a kit, it means getting your soldering iron out. I found that the BerryClip+ was slightly more difficult to solder together than the original. This is mostly because of the extra male header pins which restrict the space you have to solder on the 26-way header. It’s not a major issue, though, and really it just needs a steady hand and some patience. One thing I should say is that because of the way the rest of the components are placed and spaced, this is an ideal project for the soldering beginner. Here’s a picture of my soldering efforts with all the resistors in place:
And here’s a couple of photos of the finished board. The whole thing took about 30-40 minutes, but I really take my time and a more experienced solderer could probably do it in 20 minutes.
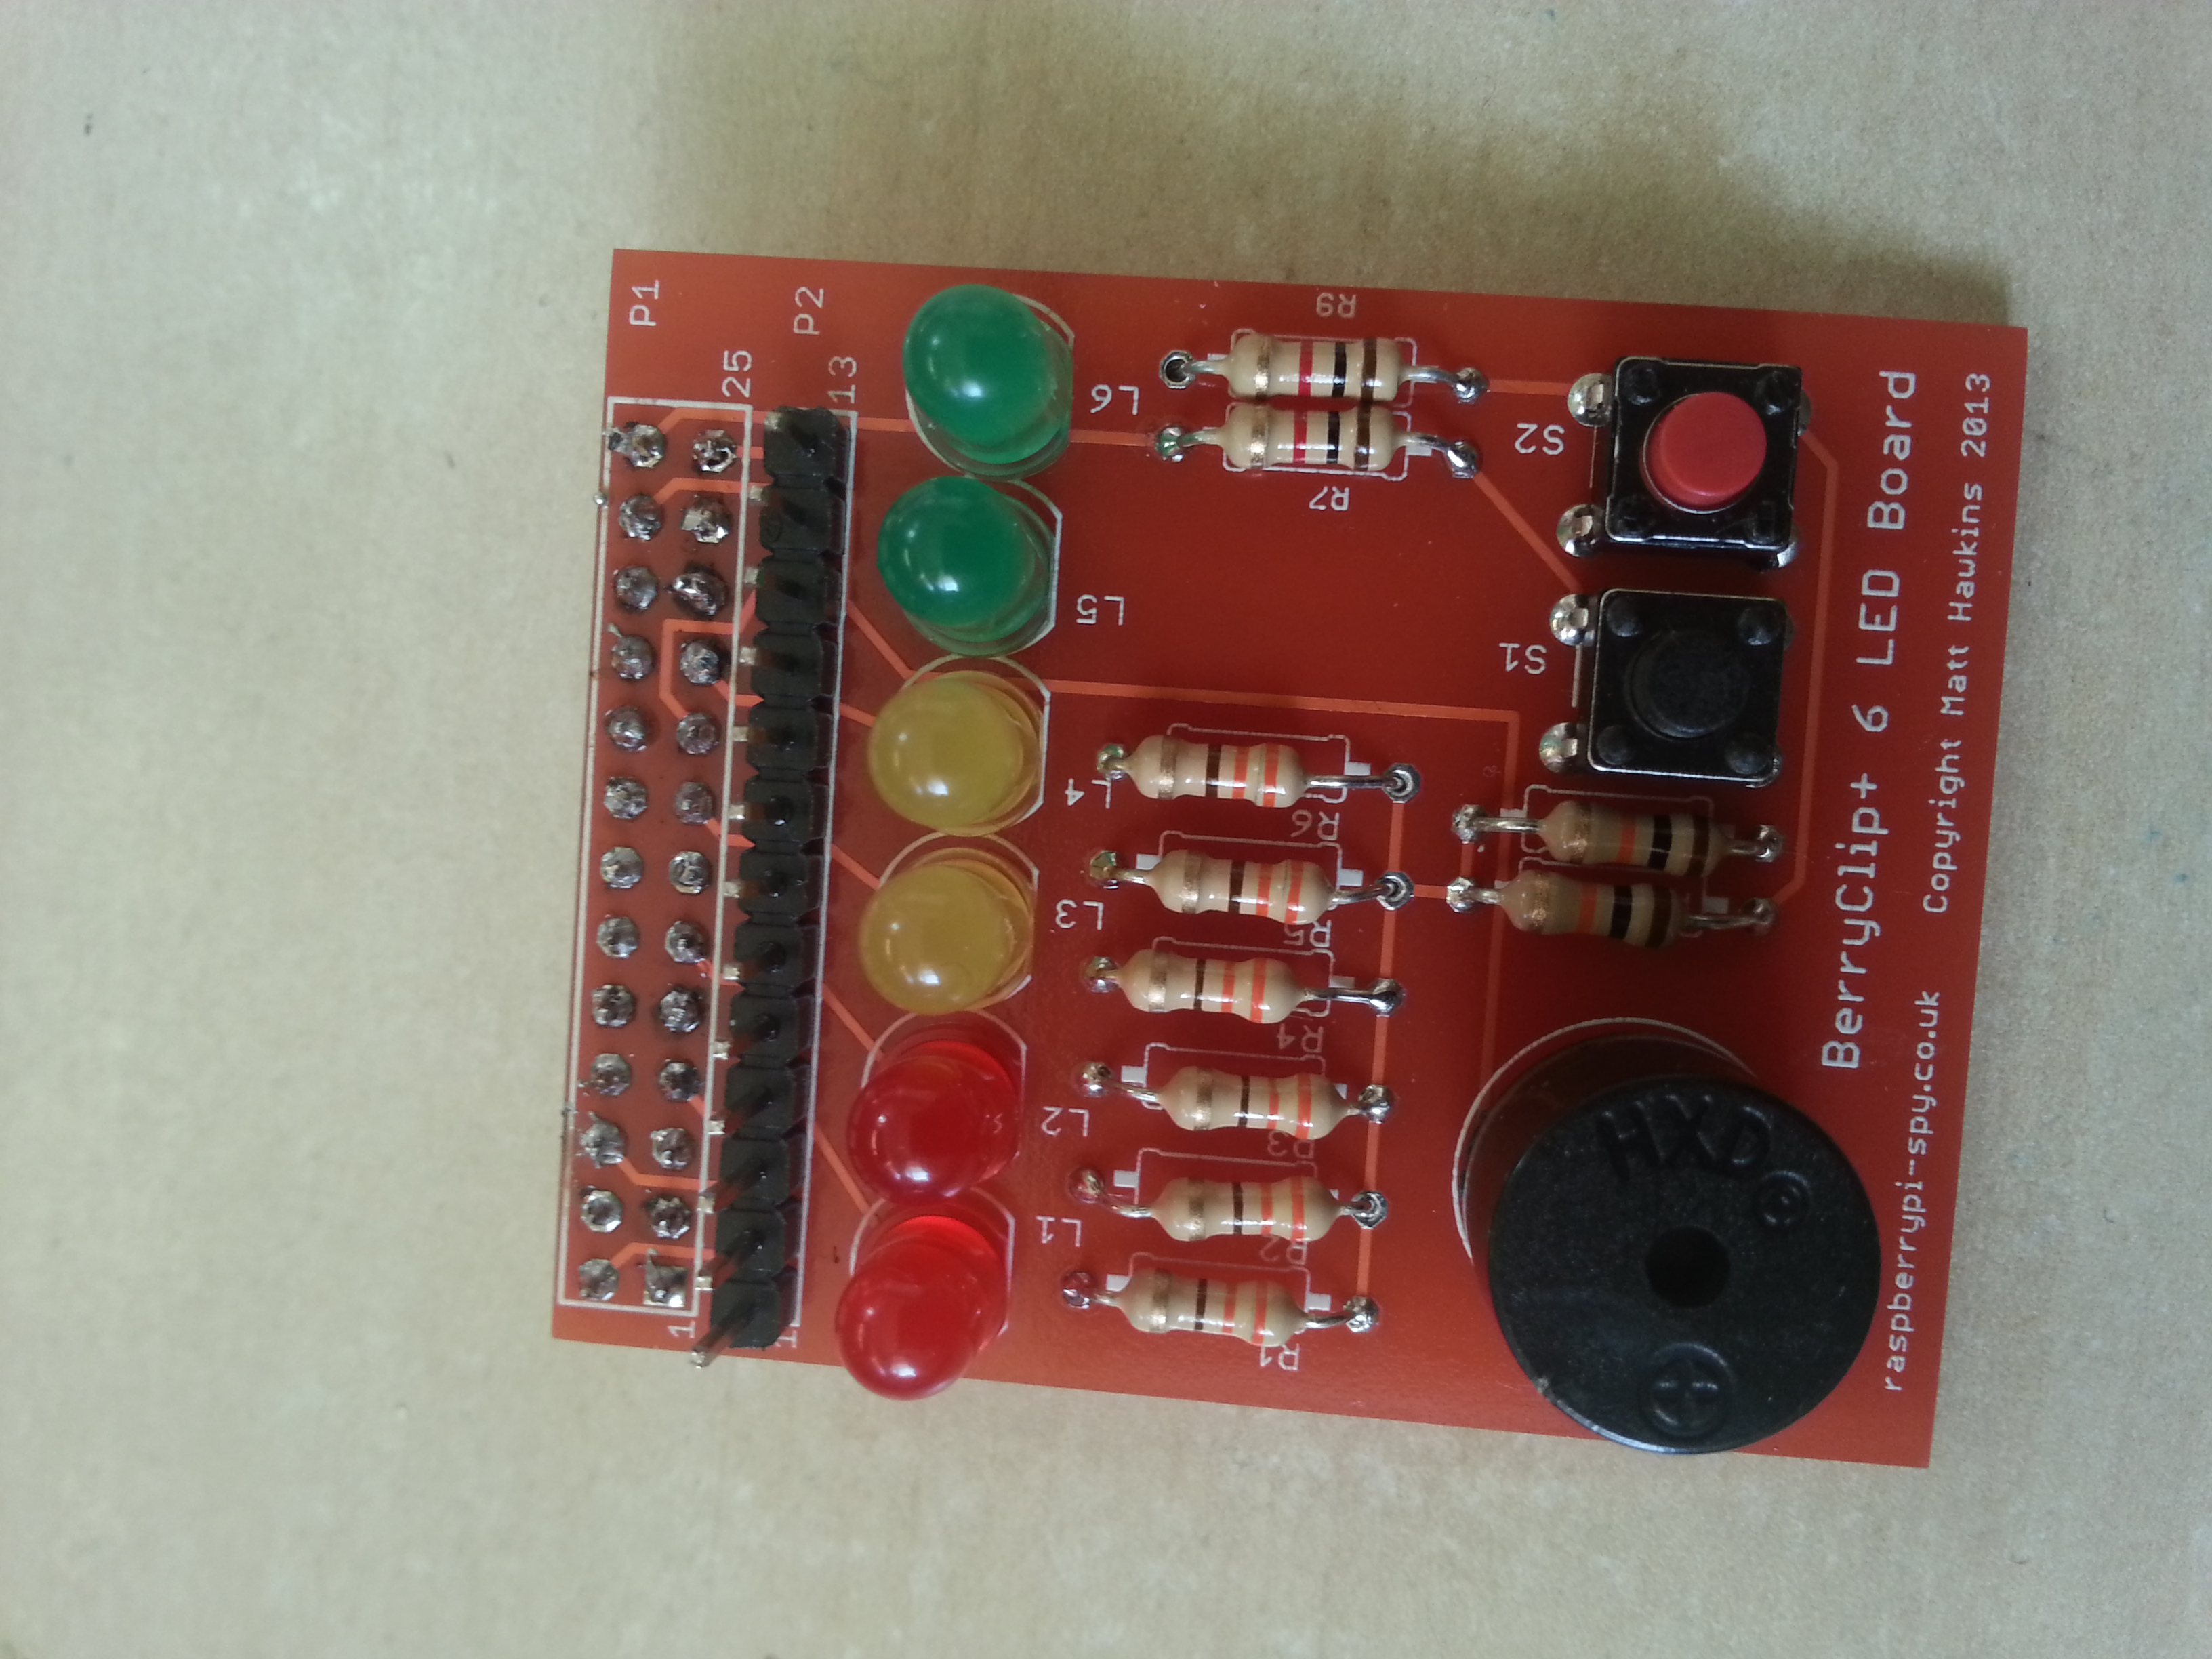
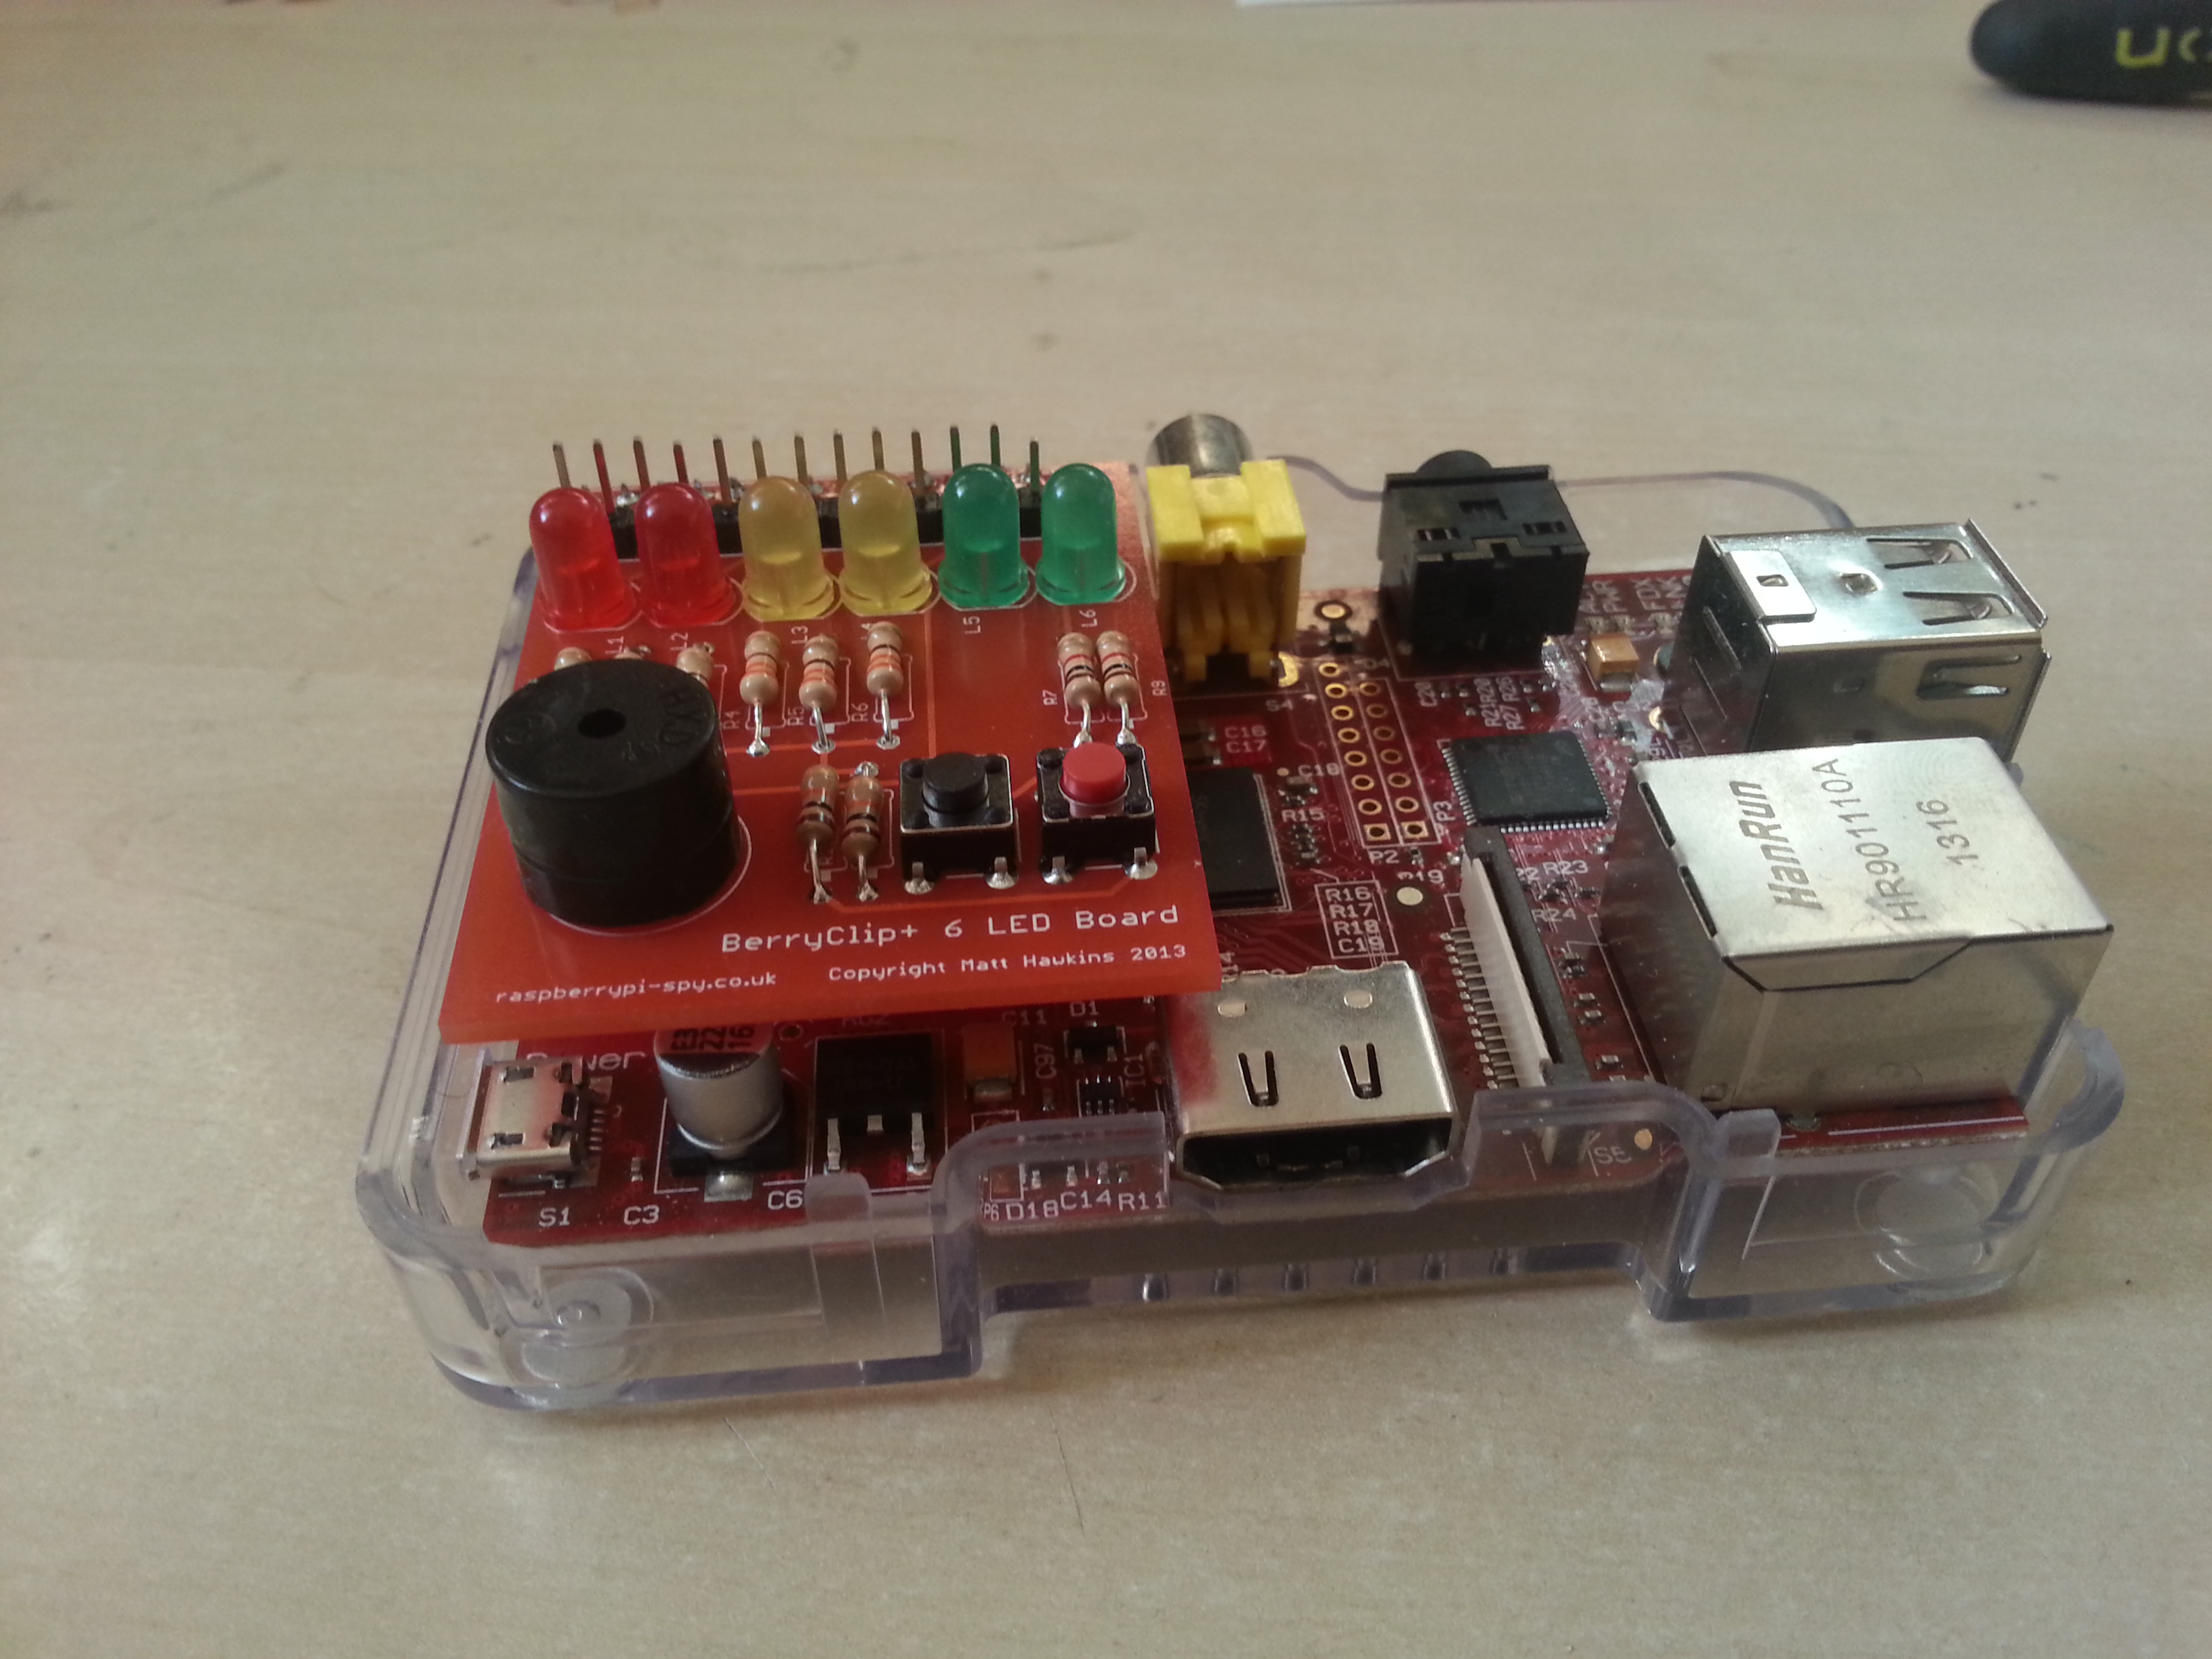
And here’s the board plugged into my red Pi:
The BerryClip+, just like the original, can be tested out using a series of example scripts downloadable from bitbucket. Instructions for doing this can be found here.
There are twelve scripts in all plus an added bonus, of which more later. The twelve scripts are as follows:
- berryclip_01.py – Test LEDs only
- berryclip_02.py – Test Buzzer only
- berryclip_03.py – Test Switches only
- berryclip_04.py – Test LEDs and Switches
- berryclip_05.py – Test LEDs, Buzzer and Switches
- berryclip_06.py – LED sequence
- berryclip_07.py – Dice Simulator
- berryclip_08.py – Reaction time game
- berryclip_09.py – Random LEDs
- berryclip_10.py – Multiple LED sequences in a loop
- berryclip_11.py – Traffic light simulator
- berryclip_12.py – Morse code generator
These scripts are terrific and really add value to the board. They introduce the board’s basic GPIO functionality and also show you how to do multi-threaded event listeners so that, for instance, you can run a sequence on the LEDs but ‘listen’ for a button press at the same time. Basically, anything simple that you’d want to do with the board can be found in these scripts. Also included is a ‘horse racing’ game written by Jim Flewker (which I previously covered here) which is an interesting example of what you can do with the board and a little imagination. I should say that the download instructions provided on Matt’s site worked flawlessly – exactly what is necessary when you’re providing code (and something other people could learn lessons from – make it easy, make it work).
So what is my overall opinion of the board? Well, it’s very good. For £6.99 (compared to £5.99 for the original) you get a decent number of components plus the circuit board plus the scripts. It’s a very good value board and can be compared favourably alongside, say, the Pibrella (which is £10, pre-assembled and has a Python library but has fewer components and is slightly easier to plug things into with the female header). Matt’s board gets points for the extra switch, especially, as you can really make some great interactive activities with two buttons, and breaking out the remaining GPIO pins means that it’s easily extendible if you want to add more LEDs, buttons and buzzers (for instance).
Matt’s done an excellent job making a cheap, accessible board that could easily be used both at home and in classrooms (soldering notwithstanding, but there’s always some enterprising techie in school to do that).
Overall rating: 9/10
You can purchase a BerryClip+ from Dawn Robotics or ModMyPi (plus £2 delivery). The original is also available from those re-sellers.
[…] recantha Matt Hawkins (aka The Raspberry Pi Spy) sent me one of his new GPIO add-on boards for the Pi called […]